by
by 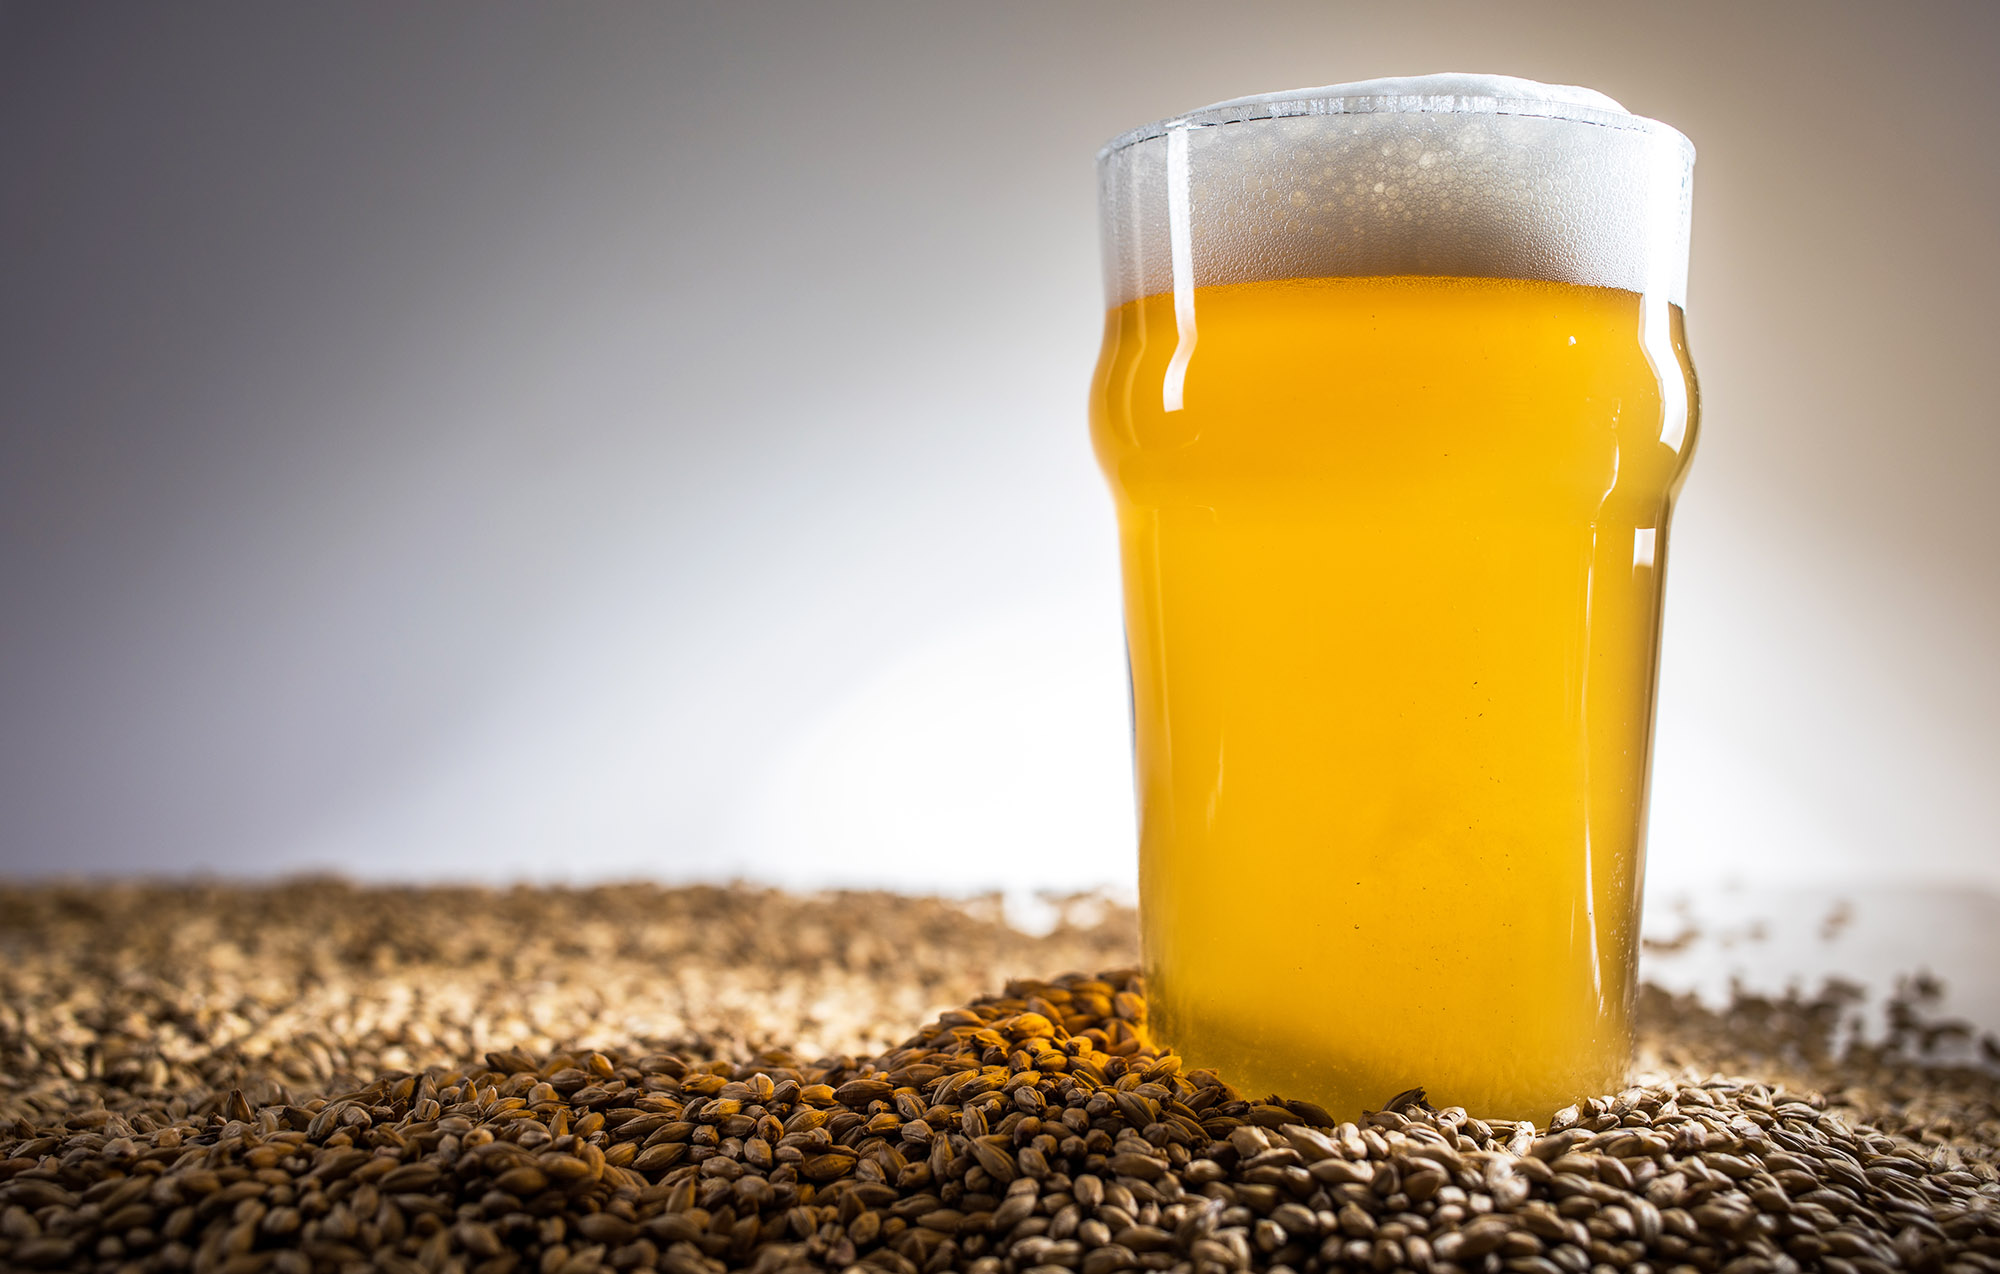
Beer is made with water, grains, hops, and yeast. All grain brewing is the process of making beer from scratch with crushed malted grains instead of malt extracts. The real difference between extract brewing and all-grain brewing is how the fermentable sugars are acquired during the brewing process.
The Basic Process
In all-grain brewing, crushed malted grains are soaked in hot water, typically in a range of 145-158°F, for 1 hour to extract the grain’s sugars. This process is known as mashing. The fermentable sugary liquid, called wort, is drained (lautered) to the boil kettle, leaving the spent grains behind. Think of the process as similar to steeping an extra-large bag of specialty grains and skipping DME/LME altogether. From here on out the process would mimic extract brewing.
Equipment
All grain requires some additional equipment to get started. Depending on the type of all grain system you choose, this could be as much as 3 dedicated vessels or as simple as 1. With the explosion of the brew in a bag (BIAB) method, homebrewers can actually brew all-grain with a single boil kettle and a fine mesh bag. While not as efficient as a traditional 3 vessel system, the process offers the ultimate level of simplicity and minimal cost to dive into the hobby.
Outlining the more traditional steps and equipment will better help you understand how it all works before totally simplifying it down to BIAB. I think this knowledge is really valuable foundational info to know.
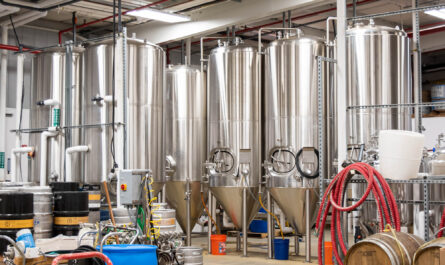
A traditional all-grain system consists of 3 vessels.
- Hot Liquor Tank (HLT)
- Mash Lauter Tun (MLT)
- Boil Kettle (BK).
The diagram below is an oversimplified process of the vessels and the general flow of water/wort on brew day.

Hot liquor Tank: Liquor is an industry term for the strike and sparge water used in the all-grain process. The only thing that actually comes in contact with the HLT is your brewing water. The HLT is basically a vessel used to heat your water for the mash and sparge. More on these later.
Mash Lauter Tun: The mash tun is the most important vessel in all-grain brewing. Usually an insulated cooler or direct-fired vessel that holds your crushed grains and hot water during the conversion process. A typical mash is 1 hour at a set temperature ranging from 145°F to158°F.
Many homebrewers use a 10-gallon Rubbermaid cooler with a false bottom because they do a remarkable job of maintaining heat within a degree or 2 for long durations without any external heat source. More advanced systems will use a heat source and a traditional kettle to manually or automatically maintain the mash temp. A mash tun is equipped with a mettle screen, called a false bottom, that acts as a filter to let wort through and not the grains.

Boil Kettle: A vessel for boiling wort with hops. There is no difference in the boil between extract and all grain.
Crushed Grains

Grains are sold in whole and pre-milled (crushed form). If you’re new to brewing, you should opt for pre-crushed grains until you understand what you’re doing or have an interest in crushing your own grain. You will need a grain mill if you’re looking to go this route (they aren’t cheap). A traditional crush, usually 0.045 inches, is best suited for traditional mashing methods.
Many BIAB brewers will crush their own grains to achieve a finer crush than normal, which helps boost efficiency in the BIAB process.

All Grain Brew Steps
1. Heat Strike Water
Strike water (mash water) is heated in your HLT for use in the mash. Strike water is usually heated 10-15 degrees higher than the target mash temp because the water will cool from transferring and from grain heat absorption. You should keep note of your temp losses in your system so you can account for heat loss going forward. Adjusting on the fly, especially with a cooler mash tun can be a bit of a pain. If your target mash is too cold, you will need to add additional boiling water to bring up the temp. If your mash is too hot, you can stir the grains with the lid off to dissipate some of the heat.
Brewing software such as BeerSmith or online calculators can help you calculate your strike water volume and temps precisely. A general formula for starting out is grain weight in lbs x 1.25 qts of water/ 4 = gallons of strike water.
Example formula with 10lbs of grain: 10lbs X 1.25qts /4 = 3.125 gallons of strike water
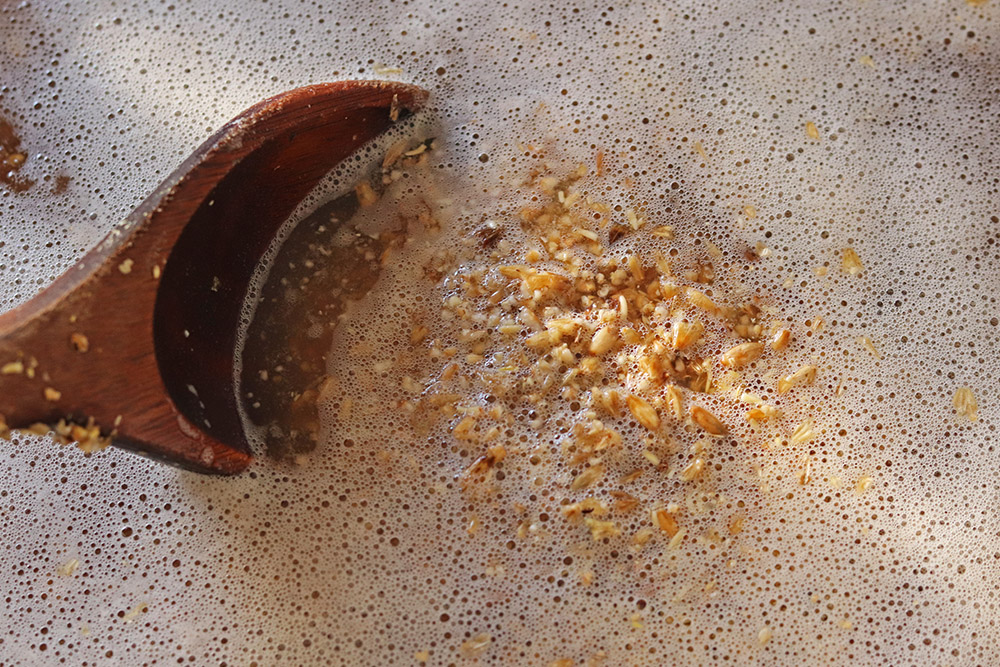
2. Doughing In
Once your strike water is heated and transferred to your MLT, you can add your grains. Doughing-in is the process of slowly pouring your grains into the MLT while stirring. This should be done gradually and slowly to avoid clumps or dough balls, which will ultimately decrease the efficiency of the conversion process. Once you have fully doughed-in, give the mash a solid stir for about 30 seconds to thoroughly mix everything together. Adjust if needed, cover, and set a timer for 60 minutes. Sometimes this is easier with two people.

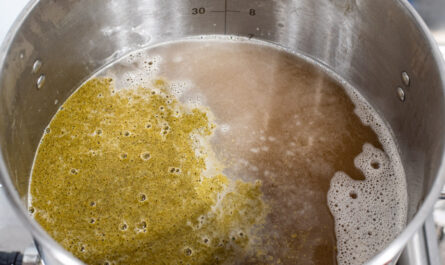
3. Mash (Saccharification Rest)
The mash is the process of using hot water to activate enzymes in the grain that convert the gain’s stored starches into fermentable sugars. The mash duration is called a saccharification rest, however, most brewers refer to this step as the mash or mashing. Mash temps vary depending on the style of beer you’re brewing and overall characteristics. I won’t get into the technical details, but lower mash temps yield dryer beers while higher mash temps yield sweeter beers. A typical mash temp is 152°F, as it’s right down the middle in terms of profile. A simple single infusion (single temp) mash is typically held for 60 minutes, although it can be as high as 90 minutes. Once the 60 minutes are up, the conversion is likely completed, and you’re ready to vorlauf, lauter, and sparge.
4. Mashout (Raising the Grain Bed to 168°F)
Mashout is the process of raising the grain bed temperature to 168°F in a conventional sparging system. This is done to help the wort flow, deactivate enzymes, and stop conversion during a prolonged sparge process. This can be achieved by pouring in a few gallons of near-boiling water (in this case you can use part of your calculated sparge water) to raise the entire mash temp up. Add 2-3 gallons of 185°F-190°F water to the mash, stir well to fully mix, cover, and let rest for 10 minutes. I’ll come back to this below.
5. Vorlauf/Recirculate
Before lautering/sparging takes place, you must recirculate the wort with a process called vorlauf. The vorlauf recirculates the wort in order to settle the grain bed and avoid transferring any solid grains from the mash tun to the boil kettle. While the false bottom will prevent the majority of the grains from slipping through, there will inevitably be some grain particles that sneak through when you first drain the MLT.
Slowly open the mash tun valve part way and drain the sweet wort into a heat-safe jug or pitcher until the wort runs completely free of grains. Carefully pour the wort back into the mash tun being careful not to disturb the grain bed. This process can take 2-3 fills before the wort is completely free of grains (wort may still be cloudy and this is OK). Do NOT skip this step as boiled grains can release harsh tannins that will present themselves in your finished beer. Depending on your sparging method, you will then drain the mash tun of all grain-free wort into the boil kettle.
6. Sparging (Continuous Sparge or Batch Sparge)

Sparging is the process of rinsing the grain bed with more hot water from the HLT. Sparging extracts any remaining sugars left in the mash after draining. Sparge water should target around 168°F (or higher) to maintain the grain bed temp after mashing out. Sparging comes in a few different forms and has varying levels of effectiveness, which is referred to as brewhouse efficiency.
Calculating Sparge Water
As mentioned earlier, brewing software like BeerSmith or online calculators can help dial in your water volumes automatically, however, a general simplified rule for beginners is to use .5 gallons of sparge water for every pound of grain. This method will be an overestimate but ensures you will have enough water to reach your pre-boil volume, which should be about 1-2 gallons higher than your finished batch size, or whatever your recipe specifies.
Example formula with 10lbs of grain: 13lbs X .5gallons = 5 gallons of sparge water
Simple Batch Sparge (Double Batch Sparge)
Batch sparging is the quickest and easiest method of sparging. Heat all of your sparge water to 185°F-190°F in your HLT. After the mash is complete, add half of your total sparge water to the mash to raise the mash to 168°F-170°F. This will technically be your mashout step. Stir the mash, cover, and allow to rest for 10 minutes. Vorlauf until clear and drain all of the wort into the boil kettle.
Add the remainder of your sparge water, ideally 185°F, to the mash tun. Repeat the steps above by stirring the mash, cover, and allow to rest for 10 minutes. Vorlauf until clear and drain the wort into the boil kettle until you reach your target pre-boil volume (specified in the recipe). You may have leftover water in the mash tun but that is OK. It’s better than not having enough.
Fly Or Continuous Sparging

Fly-sparge or continuous-sparging is the traditional German method of slowly sprinkling hot water over the top of the grain bed while the wort is very slowly drained from the bottom of the mash tun. The result is a continuous rinsing of sugars from top to bottom, while essentially maintaining a constant volume of liquid in the mash tun. Fly sparging is the most efficient sparge method but usually takes 45-60 minutes to complete. If you go this route you will need a 3 tier gravity-fed system or brewing pumps to circulate the wort. A mashout of 168°F is even more important before you start the fly sparge.
At the end of the sparge, whichever method you choose, you should have a ballpark of 6-7 gallons of wort in your brew kettle, also known as your pre-boil volume.
7. The Boil

Once you’ve completed mashing and sparging you’re ready to begin your typical 60 minute boil as you would any extract batch. Outside of the fact that you’re boiling a larger full volume of wort (6-7 gallons), there is no real difference from this point forward. Your hop additions, chilling, and pitching should follow the standard brewing practice you know and LOVE.
One thing you will quickly learn with all-grain is how much more difficult it is to chill 6 gallons of hot wort over your typical 3.5 gallon extract batch. You’ll really miss the headstart you get with adding 2 gallons of cold top-up water. This is where wort chillers really start to be the most effective means of cooling your wort down quickly. Your back will also thank you for avoiding lifting 50 pounds of hot wort plus the weight of the kettle into an ice bath.
Brew on!