
 by
by 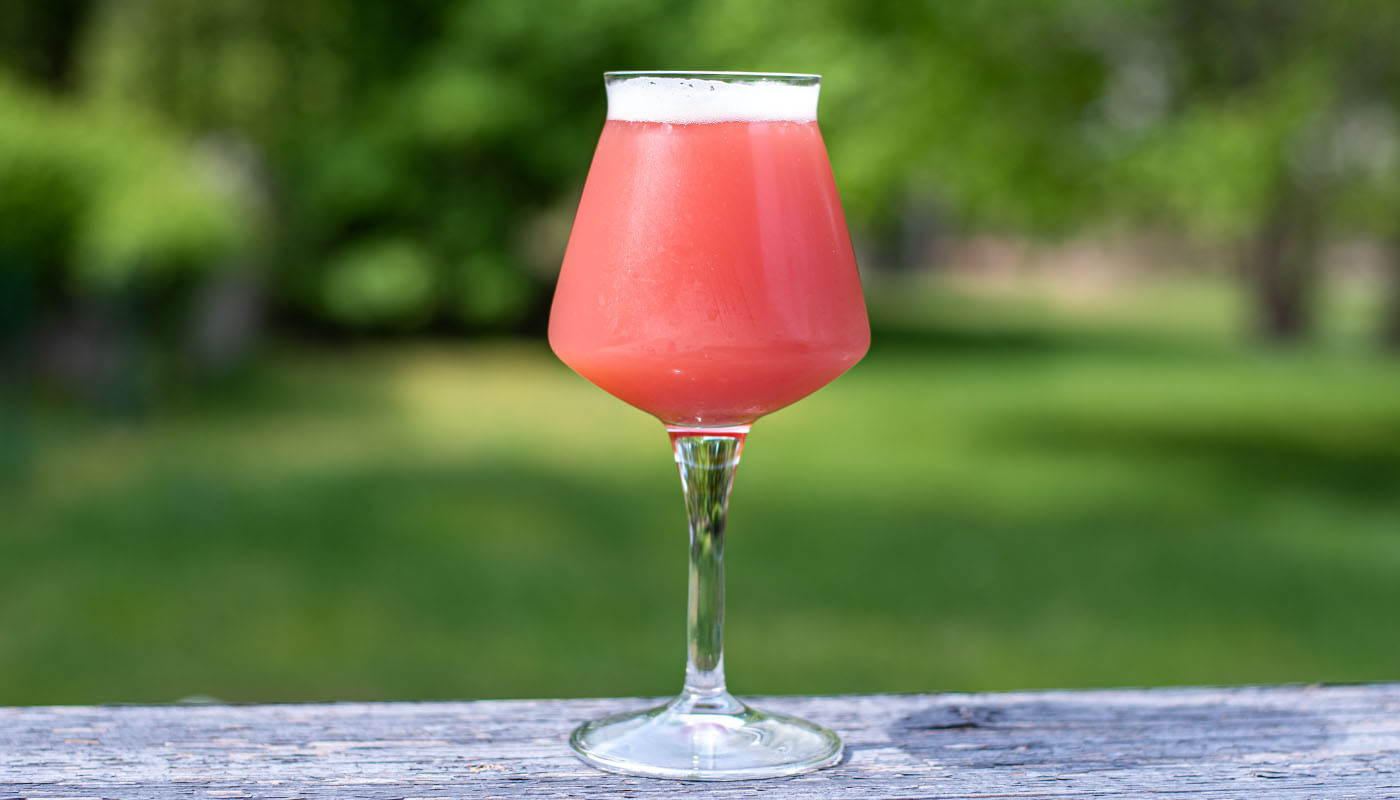
After hearing a lot of buzz about the unique WildBrew™ Philly Sour yeast, I decided to take a break from hazy IPAs and brew a fruited raspberry sour recipe. For those of you who don’t have any background on this strain, Philly Sour is a unique species of Lachancea that produces both ethanol and lactic acid. In other words, this strand will both ferment and sour your beer in as little as 8-10 days. Hops will not inhibit lactic acid production, meaning this yeast would work really well for sour NEIPAS—something I’m yet to try.
Philly Sour Overview
Philly Sour yeast is the newest player on the block when it comes to producing sour beers. I’d say it’s the most similar to kettle souring in terms of the timeline and process but even skips the lengthy sour mash step. In terms of the brewing process, it’s no different than brewing any other basic ale, making it quick and appealing for anyone hesitant to jump into the sour world. From everything I’ve read, this yeast is NOT bacteria and will be easily outcompeted by other strands, making it a safe choice for those concerned about infecting equipment.
Co-pitching and harvesting for re-pitch are not recommended because the yeast will either be inhibited by other strains or lose their ability to sour consecutive batches.

While I’m new to brewing sours, I’m not new to drinking them. This yeast produced a smoothly tart sour ale without being overly puckering. If I had to compare it to a kettle sour, I’d say it was very close in terms of the overall level of sour, but maybe a tad dialed back.
The yeast itself produces a distinct red apple flavor as described by Lallemand. I can confirm it does have a very prominent and fruity apple flavor. I’d almost compare it to the flavor of some hard ciders. Fruit additions will also contribute to the tartness and flavor depending on what you choose.
Fermentation Timeline
Below you can see how this beer fermented on my Tilt/Brewfather chart. This beer started to show activity about 21 hours post pitch. It fermented normally for about 1 day before appearing to go dormant for another 22 hours or so. By day 6-7 I reached full attenuation. I thought I may see fermentation kick up again after adding the fruit but I saw no bubbling activity whatsoever. I added my fruit addition on May 5th.
I just missed my OG, in case you noticed, resulting in a lighter ABV than the recipe mentions below. I ended up finishing with 80% attenuation.

Controlling the Level of Tart With Philly Sour
Thanks to this helpful presentation with Mathew Farber (who discovered Philly Sour) and this article, I decided to mash low and add corn sugar to really push the lactic acid production. I love SOUR beers so I wanted to get as much sour out of this yeast as possible. More fermentable wort helps with pushing lactic acid production.
The only downside with corn sugar is the tradeoff with producing a drier beer. While I’m a fan of dry sours, I thought this recipe could have benefited from a little more body and sweetness. If I were to brew again, I may experiment with mashing a little higher or adding 8-10 ounces of lactose to the boil. It’s pretty amazing what a little extra sugar will do to a beer. I added a little simple sugar to a glass of this beer and it’s crazy to see the fruit flavors just pop. It’s certainly rounds out the beer and adds body.
As a final note, my beer went into the fermenter with a pH of 5.18 and the finished beer came in at 3.22. This is right in line with typical results in terms of final pH range. I’m sure the fruit also may have contributed.
Oregon Fruit Puree

For this recipe, I decided to use Oregon Fruit Puree, which is trusted by a lot of commercial breweries. There are a lot of aseptic fruit choices out there but Oregon Fruit seems like the closest thing to actually preparing your own fruit. The only caveat with using fresh fruit is the necessary prep work to ensure you don’t introduce unwanted bacteria or wild bugs into the beer with the fruit. Typical fresh fruit prep involves freezing, crushing, and heating to break down cell walls and kill any bacteria or wild yeast. I’d be really curious to experiment with this in the future.
Oregon Fruit Puree comes ready to pitch directly into your beer with no prep necessary. I added 1.5 49 ounce cans to my batch. Each can weighs about 3 pounds, putting me at about 4.5 pounds in a 5.5-gallon batch. The fruit was really refreshing and flavorful without being overpowering. If I were to brew this again, I’d likely recommend two full cans for a more pronounced fruit flavor. I was on a bit of a rushed timeline for this batch (Mother’s Day brew), so my beer only had about 3.5 days on fruit. While this felt like enough time to add plenty of flavor, I’d recommend a few more days.
The only downside with aseptic fruit is the price. Each can of Oregon Fruit averages around $25-$35 per can, making them a pricy option for convenience, especially at this scale. There are other aseptic fruit providers out there, I’ve just heard really great things about the Oregon brand and have had a positive experience so far.
Oak Spirals
I added a single 8-inch Light toast American oak spiral to the fermenter along with my fruit addition. As mentioned, I only left this beer on the oak for about 3.5 days due to my tight timeline. If I was were to brew again, I’d like to leave on the oak longer and probably use two spirals for quicker durations. I can’t say I detect much if any oak in this beer at all. I was really nervous about overpowering the beer, so I erred on the side of caution. Just to note, the oak should be boiled before adding to the fermenter to sanitize.
Raspberry Sour Recipe
Overall, this beer resulted in a crowd-pleasing and refreshing dry sour ale with beautiful notes of raspberry, thanks to fruit puree. I did pick up some very subtle esters from my batch. Not sure if this was the yeast, fruit, or phantom flavors I was detecting. For whatever reason, I only noticed shortly after introducing the fruit.
It’s definitely something I would brew again with very minor tweaks based on my own personal preferences. If anything, I would just like to see the beer finish a little higher, maybe 1.014-1.016 for a little extra sweetness and body. Cheers!
Here’s a link to the recipe in Brewfather.
Ingredients
Fermentables
5 lb (36.6%) Pale Ale Malt 2-Row 3.5 °L
4 lb (29.3%) Wheat White Malt 2.3 °L
1 lb (7.3%) Oats, Flaked 1.6 °L
8 oz (3.7%) Acidulated 2.8 °L
Boil
1 oz Tettnang 4.5% 30 min
Yeast
1 pack WildBrew™ Philly Sour
Other
Whirlfloc – 15 minutes
8 oz Corn Sugar (Dextrose) – 15 minutes
1-2 (49 oz) Cans Oregon Fruit Purée Red Raspberry (4.5-6 pounds) added to fermenter on day 5
Water Profile
Ca2+ 50
Mg2+ 5
Na+ 51
Cl– 133
SO42- 22
HCO3– 90
Specifications
Method: All-grain
Batch size: 5.5 gallons
Efficiency: 70%
OG: 1.057
FG: 1.009
ABV: 6.3%
IBU: 11
SRM: 4.6
Target Mash pH: 5.2 (adjust with lactic acid)
Mash Temp: 149°F – 60 minutes
Boil: 60 minutes
Fermentation Temp: 75°F
Notes
This yeast will likely produce lactic acid first and then start to ferment afterward. I pitched at 75°F and held steady the whole time. I added fruit and oak on day 5-6, nearly at terminal. Let sit on fruit for at least 5-7 days. Cold crash for 24-48 hours before transfer. I added a little Biofine to help settle pulp in suspension. The beer pours hazy with no pulp and a nice creamy head.
As mentioned in my post, this beer would benefit from a few more days of fruit and oak contact time. I added 4.5 pounds of fruit (1.5 cans), but I wouldn’t hesitate to add two full cans next time. I would also experiment with two oak spirals for more pronounced oak character.
If you prefer a higher final gravity or want a bit more sweetness, I would experiment with adding lactose towards the end of the boil.


It looks amazing,
What size fermenter did you used?
This batch was a 7 gallon BrewBuilt conical.
Looking forward to trying to recipe with one addition. I may play around with adding some fresh ginger to the boil.
It seems that you added your fruit in with your “primary” fermentation, instead of transferring to a secondary vessel?
correct – I have a conical so I keep everything in a single vessel. Regardless, I’m in favor of less transfers!
Was there a reason, other than a speedier fermentation, that you decided to keep the temp quite warm at 75⁰F?
I just brewed a similar recipe, but with a simpler grist (pilsner + raw wheat) and used tart cherry puree from Oregon. It fermented at 75⁰F as well and got down to 1.010 in less than a week, almost 80% attenuation, and the sample smelled and tasted quite fruity and tart, prior to adding the puree.
Cheers!
Hoping this turns out
The rec range is 71-80 so I went in the middle. You should watch the presentation linked for tips. It’s helpful. In general it was for speed, attenuation, and flavor. I typically ferment ales 66-68.
Ah I see – thanks for clarifying and pointing out those great links I missed above (funny too since Bitter & Esters is my local HBS!)
Hi Shawn,
Looks like a great recipe. One question. Did you use RO water and add the brewing salts, etc.?
Kevin
It honestly depends on your overall water quality and recipe. I don’t think RO always makes sense unless the natural salts in your water are totally misaligned with what you’re trying to achieve. I use tap if my home water profile matches or is lower than my desired levels. This is all assuming your tapwater is good quality and tastes good. Always use campden tablets to remove chloramines with tap.
Thanks for the great recipe and detailed directions. I’ve been enjoying sour beers since I tried my first Berliner Weiss. Really gratifying to finally brew my own and be really satisfied with the results. I liked the way it tasted before adding the fruit as well. Maybe I’ll brew it again without the fruit next time.
Hi,
Thanks for a great post that I have just only discovered.
I am new to sour homebrew and attracted by the simplicity of the Philly Sour’s two-in-one charateristics. According to Lallemand the Philly Sour isn’t recommended for bottle conditioning. What method for carbonating do you reccomed?
Thanks!
Jens
I force carbonate mine in kegs.
Thx!
What are the water volumes for this recipe, strike water and pre boil volumes? Did you do a full volume mash or did you sparge? Please forgive my ignorance but I’m new to all grain brewing.