
 by
by 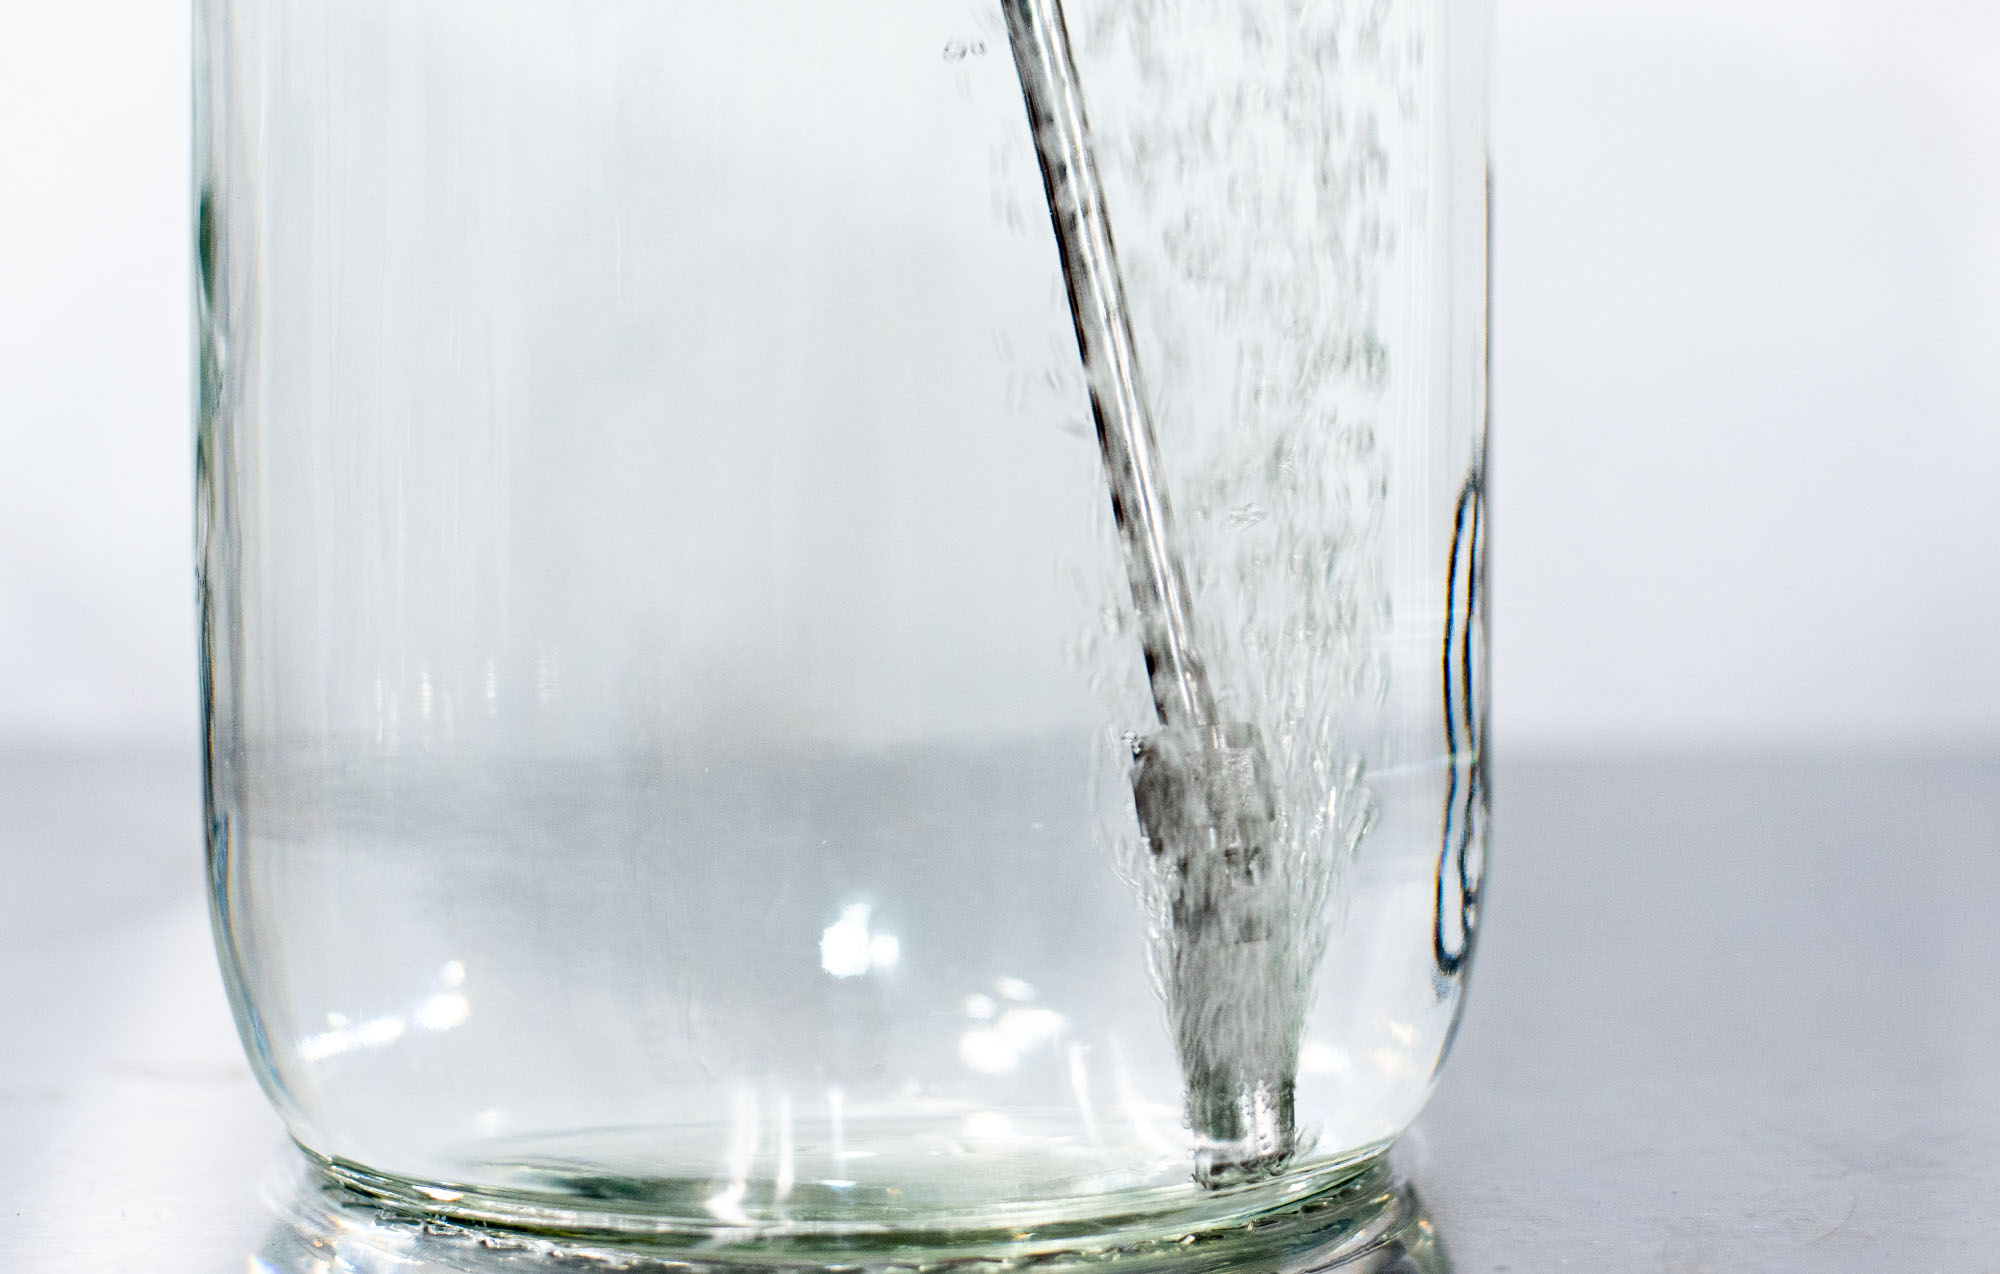
Yeast needs adequate oxygen to do its job well. More oxygen in your wort will lead to better overall fermentation and is also said to increase attenuation. Stressed yeast or subpar fermenting conditions will inevitably lead to off-flavors in your final beer. Commercial breweries usually aerate their wort with pure oxygen inline on its way to the fermenter. While homebrewers can replicate this process, there are simpler and more affordable ways to achieve the same results on a smaller scale.
How Much Oxygen?
There are numerous ways to aerate wort, pure oxygen being the best way to do so. But why can’t I just shake the fermenter? You can, it just may not be doing as good of a job as you may think. At a minimum, brewers should look to achieve around 8ppm (parts per million) of oxygen in their wort for fermentation. 10-12ppm is actually ideal and recommended by Wyeast for best performance. 8ppm is also the maximum level of oxygen you can achieve using ambient air as the source of aeration. This is because the air we breathe is made up of several other gasses including oxygen.
According to research, shaking, splashing, or whipping wort vigorously for 40 seconds will introduce about 8ppm of dissolved oxygen. Using an aeration system with ambient air for 5 minutes will achieve similar results. On the other hand, pure oxygen paired with an aeration stone can infuse 12ppm of dissolved oxygen in a little as 60 seconds.
My Setup

I currently use MoreBeer’s OxyWand™ Oxygenation Kit ($59.99) with a disposable 1.4 ounce Bernzomatic oxygen tank ($12.99) I picked up at my local hardware store. These oxygen tanks are easy to find at your average hardware store, and from what I’ve read, they will last about 10 5-gallon batches. So for around $70 you can be fully up and running with a professional oxygenation setup. Not cheap, but also not ridiculous given the ease of use and better performance. Just a note: I don’t leave my tank connected to the regulator between batches to avoid the risk of small leaks emptying the bottle.
The kit comes with everything you need (except the oxygen tank) including a 26-inch stainless steel tube, 3/16 ID plastic tubing, a brass gas regulator, a filter, and a 0.5 Micron aeration stone. Once assembled, I turn the regulator on slowly and start the flow of oxygen. As soon as you start to see bubbles reaching the top of the fermenter, slowly turn the regulator down until they disappear. Bubbles reaching the top are not dissolving into the wort, meaning the flow is set too high resulting in wasted oxygen. Aerate for 60 seconds.
That’s all there is to it. Once aerated, I’ll dip the stone in clean water and hit it with a little oxygen to ensure the inside of the stone is clean. The stone connects to the wand with a 1/4″ flare fitting so it can be easily removed from the base and boiled to sanitize before the next batch.
Does All of This Really Matter?
Will oxygenation alone make your beer taste better? Not if you ignore everything else. Brewing high-quality beer is the sum of doing a lot of little things right. No single factor alone is really going to make an average beer great. To make great beer you need to focus on getting ALL of the fundamentals right. I’ve found that incremental improvements of my entire process over the years have led me to better and better results. Oxygenation is no exception.


