by
by 
If you’ve been homebrewing for a while you’re well aware that you spend almost as much time cleaning and sanitizing as you do brewing beer. If this doesn’t sound accurate to you, then this article is for you.
Over the past few years, I’ve taken a good hard look at my cleaning and sanitation practices in order to make sure everything is up to par. Both hot and cold side equipment greatly benefits from a diligent cleaning regimen. Even though most hot side equipment is ‘boiled’, it’s important to clean it as if it’s actually not. Clean equipment produces clean flavors.
Now I’ll be honest, there was a point in time in which my cleaning process consisted of “hosing down my stuff” in the backyard with cold hose water. While you may be able to get away with this in the short term, it can lead to infections and unwanted off-flavors down the road.
Cleaning Products
Before we go any further, it’s important to touch on what you should actually be cleaning your brewery with. The most common cleaners for homebrewers are non-caustic alkaline-based cleaners such as Exchilterator Brewery Wash, Five Star PBW, or Craft Meister Alkaline Brewery Wash. They are designed to help break down and remove organic residues without the need for harsh alkaline compounds. Non-caustic cleaners are generally milder and safer to use than caustic cleaners. For the purposes of this article, I’m going to be focusing on non-caustic cleaning solutions for homebrewers.
Caustic cleaners on the other hand are highly alkaline cleaning agents used mainly in the commercial brewing industry. They are typically formulated with sodium hydroxide (NaOH) or potassium hydroxide (KOH) as the active ingredient and are highly effective in breaking down and dissolving organic matter. Caustic cleaners are much harsher and can burn or irritate your skin. It’s important to always use proper protection when handling any chemical.
I know there are several homebrewers that use dish soap to clean their equipment with success. I’m not necessarily endorsing this but it can be used for odds and ends assuming you adequately rinse your equipment afterward. Dish soap is not designed with beer in mind and can have negative effects on the taste of your final product if not properly rinsed. If you do opt for dish soap, always use unscented.
Cleaning Versus Sanitization
Cleaning is not sanitizing and vice versa. You cannot successfully sanitize equipment that is not clean. Cleaning is only the prerequisite to proper sanitization. There is no all-in-one solution or shortcut to cleaning and sanitization. Cleaning does a great job removing dirt and residue but is not effective in removing leftover bacteria, wild yeast, or any other microscopic microbes. You can learn more about sanitizing products here.
Soaking Small Equipment
Not everyone has the luxury of CIP (clean-in-place) practices. Depending on your setup, it’s not a bad idea to break down all of your equipment and soak it overnight in a solution of hot water and brewery wash. This helps to break down all sorts of hidden gunk in tough-to-reach places. While some may consider this overkill, I usually break down my RipTide pump in between batches and soak the head in cleaner. Obviously, the pump head easily removes via tri-clover fitting so it only takes a minute to do.
I use plastic dish bins I purchased on Amazon for soaking hot and cold side gear overnight. This includes ball valves, hop droppers, tri-clover fittings, gaskets, site glasses, the list goes on. Unless you have a fully tri-clover fitted system with no exposed threads, it’s very difficult to have a true CIP system that’s super reliable (more on this later). This practice is great for ensuring all small components are adequately cleaned for the next batch.
One of the best tips I’ve seen to date is cleaning stainless components in a dishwasher. This is a great way to easily clean lots of equipment and take advantage of the dishwasher’s high temps.
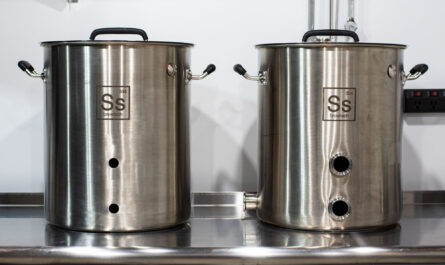
Boil Kettle
I clean my boil kettle with a hot brewery wash soak and no manual scrubbing. I’ve seen some really interesting pictures of electric heating elements that look like they haven’t been deep cleaned in months (years maybe?), but I refuse to let my kettle (or element) ever get that far gone. If you use the right cleaner your kettle and accessories will always look brand new.
One of the best investments I ever made was a bottom-draining kettle. My typical cleaning procedure includes hosing down my kettle and flushing it with hot water to remove 90% of the grime. The bottom drain enables me to completely drain the kettle along with leftover trub right into a bucket.
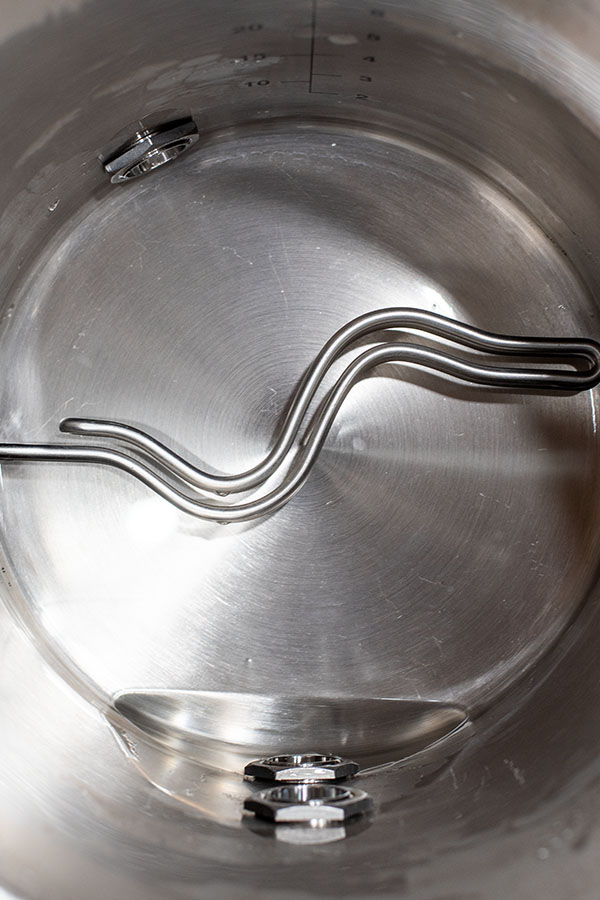
My brew kettle cleaning process looks something like this:
- Quick initial rinse of my kettle with my brewery sprayer to remove excess sludge and dump it down the drain.
- Fill the kettle with water (enough to cover the element and false bottom, set my element to about 150°F, and add the recommended measurement of brewery wash. Recirculate or stir to incorporate.
- Once hot, turn off the element and let the kettle soak overnight.
- The next day I dump the kettle, flush the entire system with fresh hot water and I’m ready to brew again. There has never been a need to scrub anything, even a slightly scorched heating element.
Chillers
Cleaning your chiller will look different depending on what kind of chiller you have. Immersion chillers can simply be placed in a bucket of hot water and optional brewery wash for routine cleaning. Before I started using a counterflow chiller, I always placed my immersion chiller in my boil kettle during the last 10 minutes of the boil to fully sanitize it. I would practice this technique at a bare minimum.
Counterflow chillers, like my Exchilerator CFC, require a different approach but are just as easy to clean. As soon as I’m done transferring my wort to my fermenter I will flush the chiller with hot water to remove 95% of any wort/hops. For deeper cleans, I’ll flush it with hot water and brewery wash from my already clean boil kettle.
It’s really important to always thoroughly rinse your equipment with potable water after cleaning it with chemicals. Just to note, not all cleaners are safe on copper! Exchilerators proprietary wash is safe for copper and won’t turn your water green like other cleaners.
As an aside, I always cycle boiling wort through the chiller for a few minutes before I actually use it to chill down to pitching temps. This helps to ensure the unit is sanitary.
Fermenters
Whether it be a plastic bucket, glass carboy, or stainless conical, you should always do a hot soak with brewery wash after every batch. Bucket fermenters are great because you can fill them with small components and then fill them up with hot water and cleaning solution and clean both the fermenter itself and all of your components. I like to break down fermenter valves and also soak the components to ensure nothing is missed.
Larger conical fermenters really only make sense to CIP with a spray ball. Spray balls are pump-driven cleaning devices that essentially spray high-pressure water/cleaner inside a closed vessel. This is an easy way of ensuring every internal surface of your fermenter has been soaked or hit with cleaner. The pressure and water also help to break down more stubborn krausen. CIP is highly effective and as a bonus it conserves water.
I use a pump and tubing to recirculate hot brewery wash from the bottom dump valve all the way to the top of the fermenter. This does a great job of cleaning tanks that may be more difficult to clean due to their larger size. Once you start to get into the 20+ gallon fermenters, CIP is the only practical means of cleaning.
Kegs
My keg cleaning process consists of breaking down ALL keg components in between each batch and soaking overnight in hot water/brewery wash. I’ll follow this up with an additional soak in hot fresh water to ensure all cleaning residue is removed. Occasionally, I’ll also do the same with my liquid quick disconnects for dispensing beer.
Just to note, I’ve never had to physically scrub a keg to this day. Assuming you’re using the right cleaner, hot water, and plenty of time, the job should take care of itself. This also goes for my keg fermenting days when I had loads of trub and krausen buildup on the keg walls.
Draft Lines and Faucets
The majority of homebrewers are not spending enough time cleaning their draft lines. Ideally, you should be cleaning beer lines every 2-3 weeks. While I strive to hit this cadence, I’m certainly guilty of falling short of this.
If you neglect cleaning your lines regularly your beer can pick up off-flavors and you’ll likely need to replace the lines sooner than necessary. If you have multiple taps, it can be even more time-consuming to clean your lines individually. The good news is there is an easier way to actually clean all your lines at once, save time, and actually do a better job.
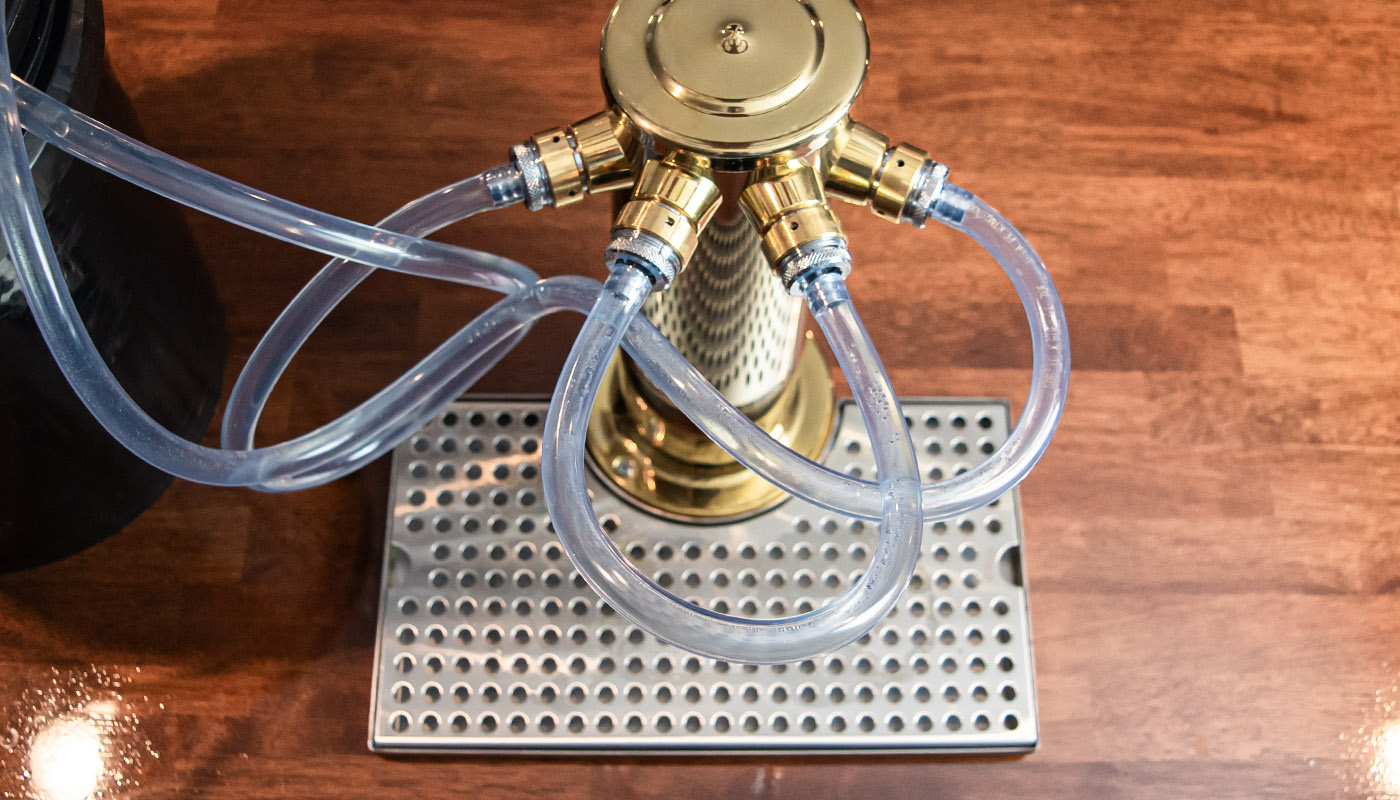
Build a Recirculating Draft Line Cleaner
The best way to clean your beer lines is to use a submersible pump to recirculate cleaner through all of your lines at once using the daisy-chain method. Liquid Line Cleaner or beer line cleaner (BLC) works best when it’s moving through the lines as opposed to sitting stagnant for an extended period of time. Before building a recirculating system, I used to use a spare keg to force both water and BLC through everything with CO2. It was an annoying process, wasted CO2, and was far too time-consuming and hands-on.
You can learn more about how to accomplish this here.
Full System CIP (Clean in Place)
I’m constantly looking for new ways to make my brewing process quicker and more efficient. A few years back I switched over all brewery connections to tri-clover fittings/butterfly valves so I could implement a true CIP process after brew day. CIP saves time and does an exceptional job assuming you use hot enough water, a great cleaner, and no threaded equipment.
True CIP is the process of using a pump to cycle hot brewery wash through all kettles, fittings, tubing, and chillers without breaking down or disconnecting anything in between batches. For me, it’s actually pretty easy since I BIAB in my basement and only have one kettle to clean.
After I do an initial rinse and dump out the majority of trub/hop buildup, I’ll fill my kettle with a few gallons of hot water and brewery wash. I then pump the cleaner through my entire system, ensuring everything that comes in contact with the wort is being flushed with moving water. Cleaning loops are especially useful for cleaning hot side tubing. I’ve found in the past that neglecting to flush all tubing can lead to some nasty results.
You can take this process a step further and utilize spray balls in your brew kettles to ensure the kettle walls are completely clean. Since I only have one kettle, I usually just use a hose to spray down my kettles.
Final Thoughts on Cleaning
I really hope this was a helpful cleaning overview. Once you get in the habit of cleaning your equipment it becomes second nature, moves faster, and no longer feels like a chore (OK maybe that’s a stretch). It goes without mentioning that you should always follow your cleaning regimen with adequate rinsing before brewing again.
I’ve been using Exchilerators Brewery Wash exclusively in my brewery for the past few years and I absolutely love it. It’s safe for use on copper so I don’t have to worry about running my equipment. Check them out and give them a try!