
 by
by 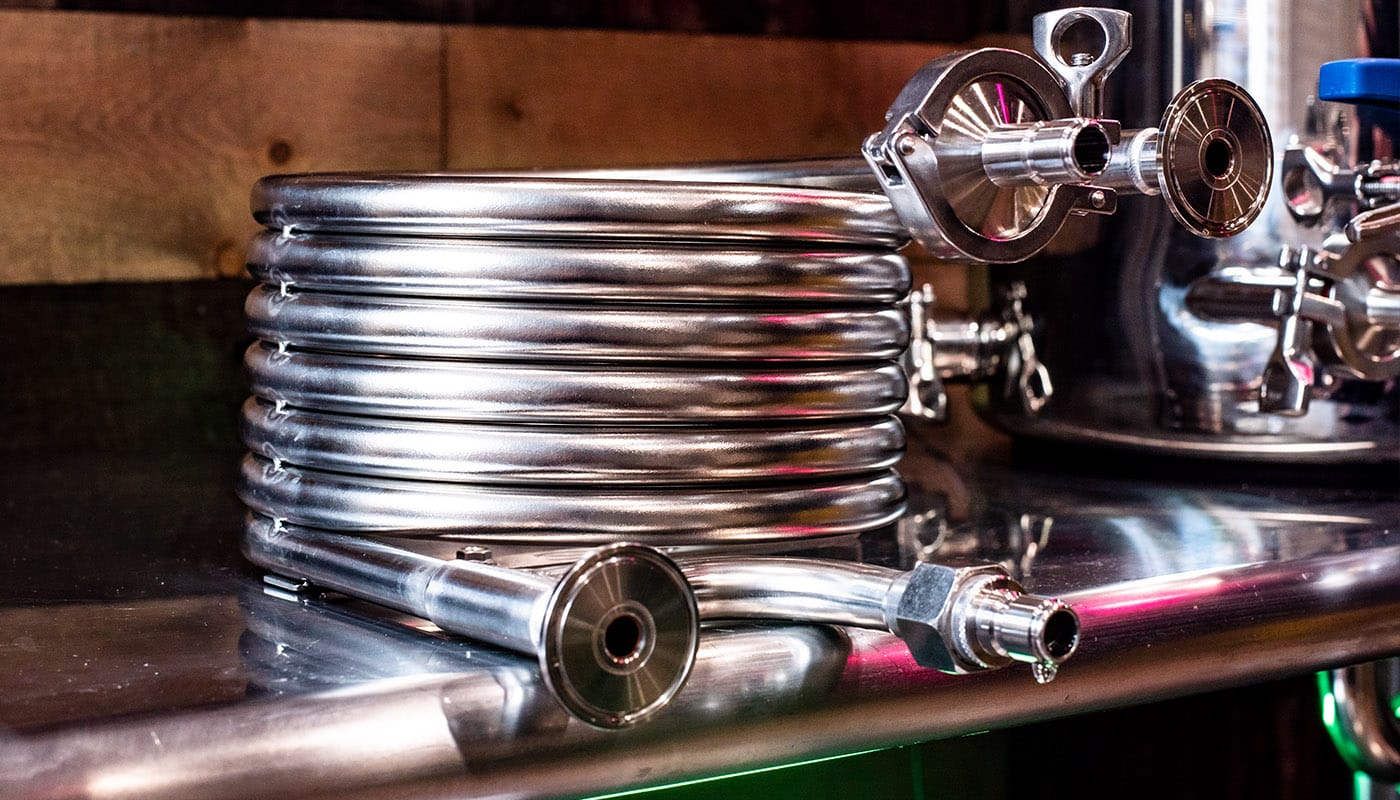
The Spike Wort Chiller was generously provided by Spike Brewing in exchange for an honest review. The information below is my own unbiased opinion.
Spike Brewing recently released a counterflow wort chiller. I had the opportunity to test the chiller out firsthand to see if it lived up to the hype. In my opinion, a counterflow chiller is one of the best investments you can make as a homebrewer. Their rapid chilling times paired with easy cleaning is a very hard combo to beat. For those of you that aren’t familiar, a counterflow chiller is designed to chill wort from hot side temps down to yeast pitching temps in a single pass from the brew kettle to the fermenter.
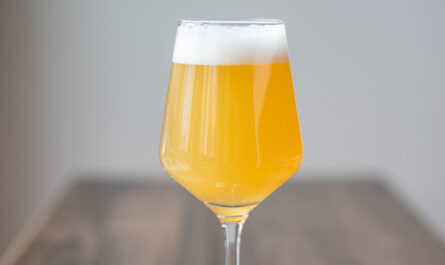
Beer is rapidly chilled as it travels from your boil kettle on its way to your fermentation vessel, saving ample time and making the chilling process that much more efficient. I’m going to share my experiences with the Spike Wort Chiller and how I got it up and running. I will also share my own results compared to Spike’s advertised chilling times! Let’s dive in.
Product Overview
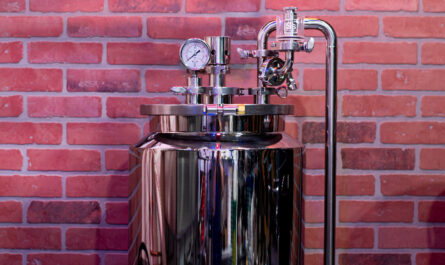
The Spike counterflow chiller has a fairly straightforward design. The exterior body is made of stainless steel while the internal tubing for wort is made of copper, the superior conductor. Per Spike, “Hot wort flows through the inner convoluted copper tubing, while cold water flows in the opposite direction through the stainless steel outer tubing. This unique design offers cooling speeds 4x quicker than our previous chiller!”
The key thing to point out here is the convoluted interior copper tubing. The interior tube has helical-like ridges in the copper walls. This feature splashes the wort as it travels through the chiller, increasing cooling efficiency due to increased surface contact with the cool exterior walls.
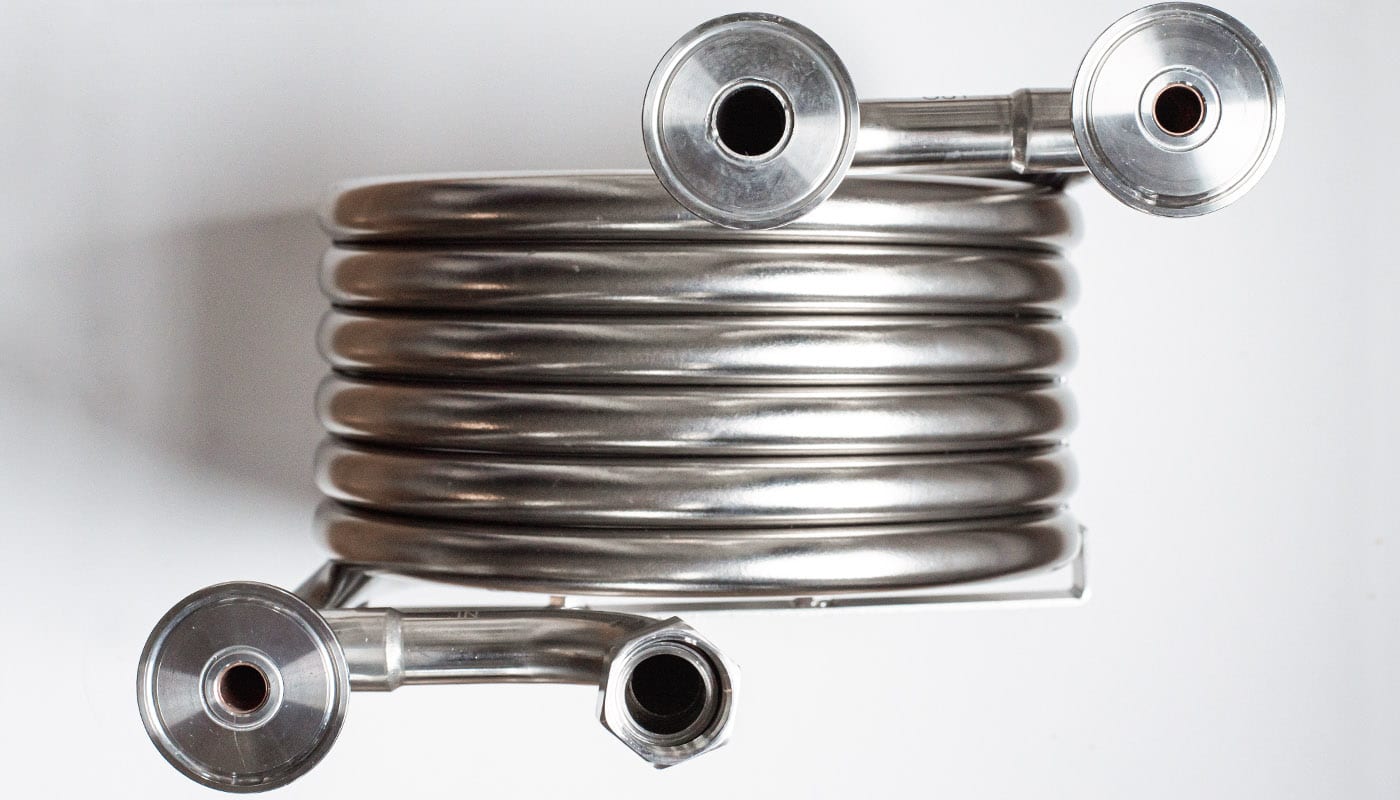
The Spike Wort Chiller is available in both TC and NPT fittings. I opted for TC since my entire system is TC. One thing I liked right off the bat with this chiller was having all of the in and out ports facing outward. This makes draining the unit and connecting/disconnecting the tubing very convenient. Just to add, the inputs/outputs are all labeled and are not interchangeable. You should only operate the chiller as directed for the best performance. The design is compact and the appearance is very sleek and nicely matches my stainless setup.
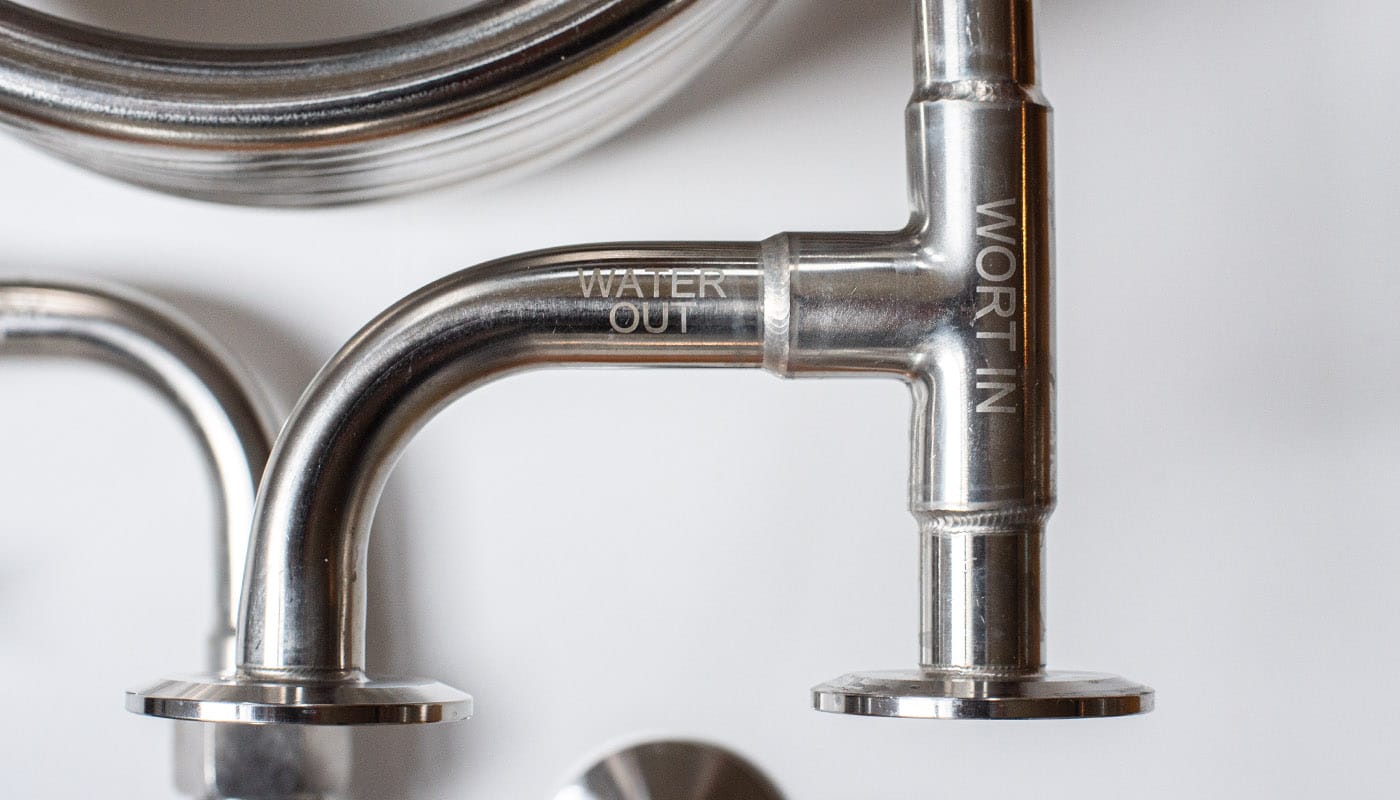
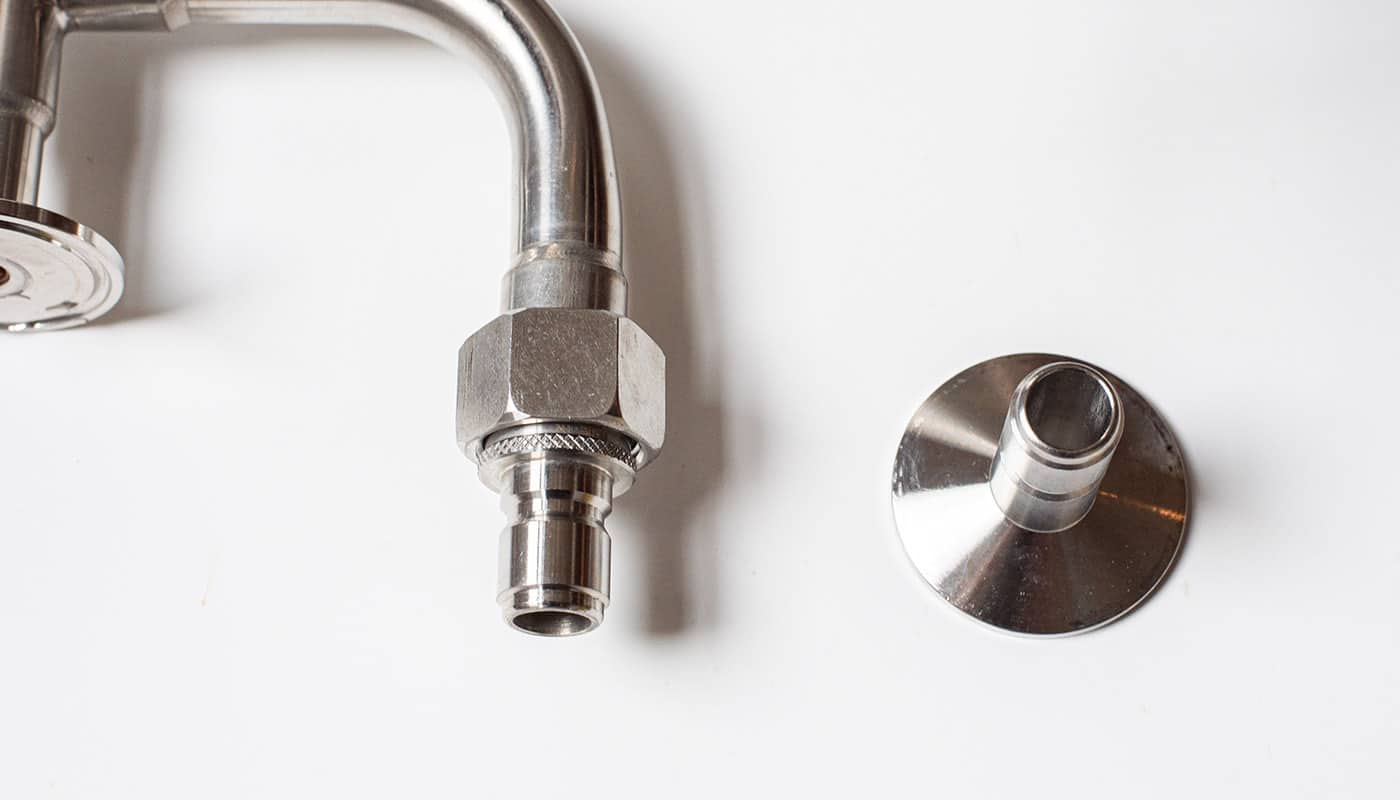
I use stainless quick disconnects on all of my water-related tubes/hoses and fittings for easy changing and configuring during brew day. I used this garden hose/QD adapter for the water IN fitting on the chiller. My water OUT port is connected with a TC/Male QD fitting. It makes connecting in and out a literal snap!
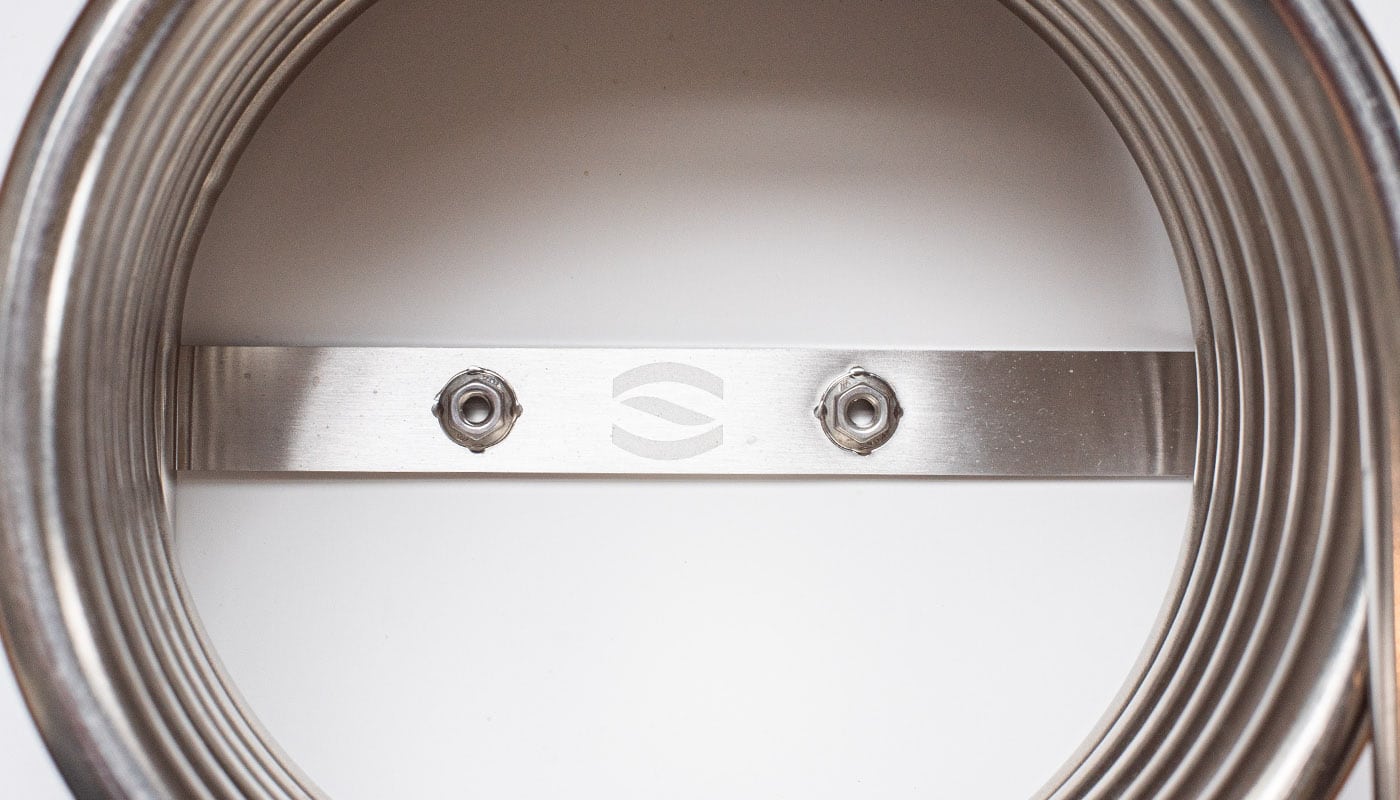
You can also easily mount the chiller to your stand using the pre-drilled/threaded nuts. You will need to buy your own bolts for this as they aren’t supplied.
Performance
I am no stranger to counterflow chillers. I have been using the Exchilerator Maxx for a few years so I’m very familiar with the process and had very high expectations for this chiller. I conducted a few different trials with the Spike chiller. My first trial was “live” with an actual batch of beer.
As a side note, it’s important to cycle hot wort through the chiller prior to actually chilling. This mitigates the risk of infection via heat sanitizing. I strongly suggest you do not skip this step. No cold water should be run through the chiller at this point to maintain high temperatures.
First Trial
My initial trial had a starting wort temp of about 175-180°F due to whirlpooling. My goal was to get the wort down to 70-72 without overshooting. My first attempt resulted in 6 gallons of wort from 180°F down to 70-72°F in 3:42 (yes, I used a stopwatch). This is a chill rate of 37 seconds per gallon. While this is quite fast, it’s actually only unlocking about 75% of the chiller’s true performance.
Spike claims the Wort Chiller can chill 5 gallons of boiling wort in 2.5 minutes or 30 seconds per gallon. My initial numbers were close however it did take 42 seconds longer than Spike’s claims. Admittedly, I took an overly conservative approach on my first shot because I was cautious of overchilling and do not have a great means of reheating my wort back up in the fermenter.
There are multiple factors that will impact chilling rate such as ground water temperature and both the flow rate of the wort and cooling water. I measured my ground water at 63°F for trial #1 and also had my cooling water flow at roughly 70% open. About halfway through chilling, I increased the wort pump’s flow rate from 75% to 100%. I found that the initial wort passing through the chiller was cooler than expected, meaning the chiller was overperforming based on the slowed flow of wort through the chiller.
Assuming your pump is maxed out, starting wort temp isn’t necessarily a major factor as it pertains to speed. Boiling wort vs 175°F wort will result in the same cooling times, however, the cooler wort will require less water (slower flow) to achieve the same final temperature. Dialing in flow rates is always a bit of a balancing act, however, I will say I was really impressed with how well the chiller performed on my first attempt. I’m sharing all of this because many of you may have the same initial results as me. Hopefully, this serves as guidance for troubleshooting.
Second Trial
My second trial was an attempt to test the true speed of the chiller based on Spike’s own trials. Trial #2 consisted of a 5 gallon boiling water test. For this trial, I opened the cold water flow to 100% and also ran my Riptide at 100% from the beginning. Trial #2 posted a time of 2:41, chilling my wort down to 70°F on the money. My ground water measured at 65°F prior to starting, consuming roughly 16 gallons of tap water at 6 GPM. Water consumption is higher than Spike’s figures (13 gallons) because they were cooling with 60°F water and 5 GPM.
Regardless of all the number crunching, that is some serious performance, chilling at a rate of 32 seconds per gallon. I probably could have hit closer to 2:30 if my pump was a little more powerful. In my opinion…it’s close enough and very really impressive.
Just to note I always start the flow of cold water prior to starting the hot flow of wort. This ensures the chiller is cool prior to running wort through it.
Cleaning & Maintenence
A CFC is so much better than a plate chiller when it comes to cleaning. There are no tiny crevices for debris to get stuck/clog and contaminate future batches. It’s worth noting that the interior of the Spike Wort Chiller is convoluted, meaning it is not perfectly smooth. While I don’t think this has major cleaning implications given the larger 1/2″ diameter tubing, it’s something to be aware of.
After every batch, I cycle hot brewery wash through my chillers to deep clean. I follow cleaning by flushing with very hot water. PSA, ensure the cleaning solution you’re using is safe on copper! PBW interacts with copper and will turn your water green. I strictly use this brewery wash because it’s safe for all brewing gear, including copper.
Downsides
I really don’t have any complaints or downsides about Spike’s chiller. It is a beast of a unit. Assuming you hook it up correctly and have the correct flow dialed in, it should perform very well for you. The only issue I ran into was the plastic gasket on the hose line into the chiller. Maybe it was my hose or user error but I could not get a tight seal using the plastic gasket supplied with the chiller. Once I replaced it with a rubber gasket, I had no issues.
Final Thoughts
Overall, The Spike Wort Chiller is a high-performance chiller with phenomenal capabilities and a slick design. With a price of $300 for NPT fittings and $325 for TC fittings, it’s on the higher end in terms of price point compared to the competition however I think the performance is easy to justify. Cooling a batch of beer in under 5 minutes is probably faster than most really need however under 3 minutes is a major bonus that will result in some potential water savings too.
Homebrewing is obviously a water-demanding hobby in many facets. I think a lot of us get hung up on the fact that counter-flow chillers use a lot of water. This is overblown in my opinion considering the average 10-minute shower uses 25 gallons of water and we don’t think twice about it. Running a garden hose for 3 minutes is peanuts in the scheme of things. I respect water conservation and don’t want to waste water, but I think some perspective really helps put some of these concerns to rest.

What’re your opinions on the Exchillerator vs the Spike CFC? Would be interested to know which one you would buy.
Both are great products. The Spike Chiller is going to chill roughly twice as fast as the Max due to the wider diameter tubing. If you want to replicate the Spike chilling times you should look into the Brutus because of the cumulative 1/2 inch ID tubing. The Exchilerator interior piping is super smooth copper so there is virtually no place for grime to hide. Both will cool 5 gallons in under 5 minutes.
Like you, I’ve used Exchillerator for years. I’m curious, though, after testing both, will you be sticking with your Exchillerator Maxx or moving to the Spike Chiller?
I love both!
Hi Shaw! Thank you for the very informative reviews. I have encountered to many problems with my plate chiller. I want to replace it with a counterflow chiller. I am considering the Spike or an Exchileraror. I am leaning to the exchilerator since I a located in Europe and Spike doesn’t seem to ship here. My question for are the following. Do you think that the Exchilerator Maxx is sufficient to chill a 30-35 gallons batch? Would you take the copper one or the stainless steel one for ease of cleaning? Do you have any experience with exchilerator brutus ? Thanks so much for your help!
I’m in the same boat, what did you end up buying?
It seems that the Exchilerator Maxx is not a direct comparison to the Spike chiller. After reading more, it seems the Exchilerator Brutus is the actual comparable product to the Spike as both of those products have an inner coil of 1/2″ ID while the Maxx only has a 1/4″ id vs the spike 1/2″.
I am having a hard time deciding as I like the stainless shell of the Spike, but I like the way the Brutus uses 2 coils (which in my mind seems like it would be more efficient) as well as the fact that it’s a smooth interior vs convoluted. I’ve heard stories about hop debris and crud accumulating in the twists of the convoluted copper.
Both are $$, lol, hard choice!
I struggled with the decision to buy the Spike wort chiller after returning a competitor’s chiller that actually performed worse than my 25 ft. immersion chiller. I finally decided to spend the money on the Spike chiller based on Spike’s claims and customer support.
Here are the results of my empirical tests. Note: I have no way of measuring flow rates.
First two tests using plain water before brew day:
Setup: Ground water 50° F; 5 gallons in kettle.
Test 1: From boiling to 75° F in fermenter about 10 minutes.
Test 2: Whirlpool kettle 15 minutes dropping kettle to 180° F. Then 180° F to 70° F in fermenter about 2 minutes.
Test 3: First Brew Day with Spike Wort Chiller:
Ground water about 60° F.
Whirlpool 20 minutes dropping kettle to about 170° F. Then 5.5 gallons to fermenter chilling to about 70° F in about 2 minutes.
Whirlpooling makes a huge difference. I consider it free chilling in addition the the other benefits
I agree with Shawn’s comments regarding the garden hose connection. I also replaced the gasket, but still have to use two wrenches to make a leak free connection. I wish there was an options for NPT threads for the water connections. Thanks for the tip about the quick disconnects.
Overall a great product that exceeded my expectations.
Your test #1 timing was likely too low of flow on both the wort and cold water supply. With 50F groundwater, you could have opened both up 100% and easily chilled to 65F in under 3 minutes. I’ve done whirlpool temp drops in the past its just not the most efficient means of cooling wort. I don’t bother lowering more than 190-180 and it usually naturally drops as I run it through my dry chiller to heat sterilize.
I’ve found that starting wort temp doesn’t really matter in terms of chilling speed. It just allows you to chill to a lower temp faster or use less water to achieve the same final pitching temp.