
 by
by 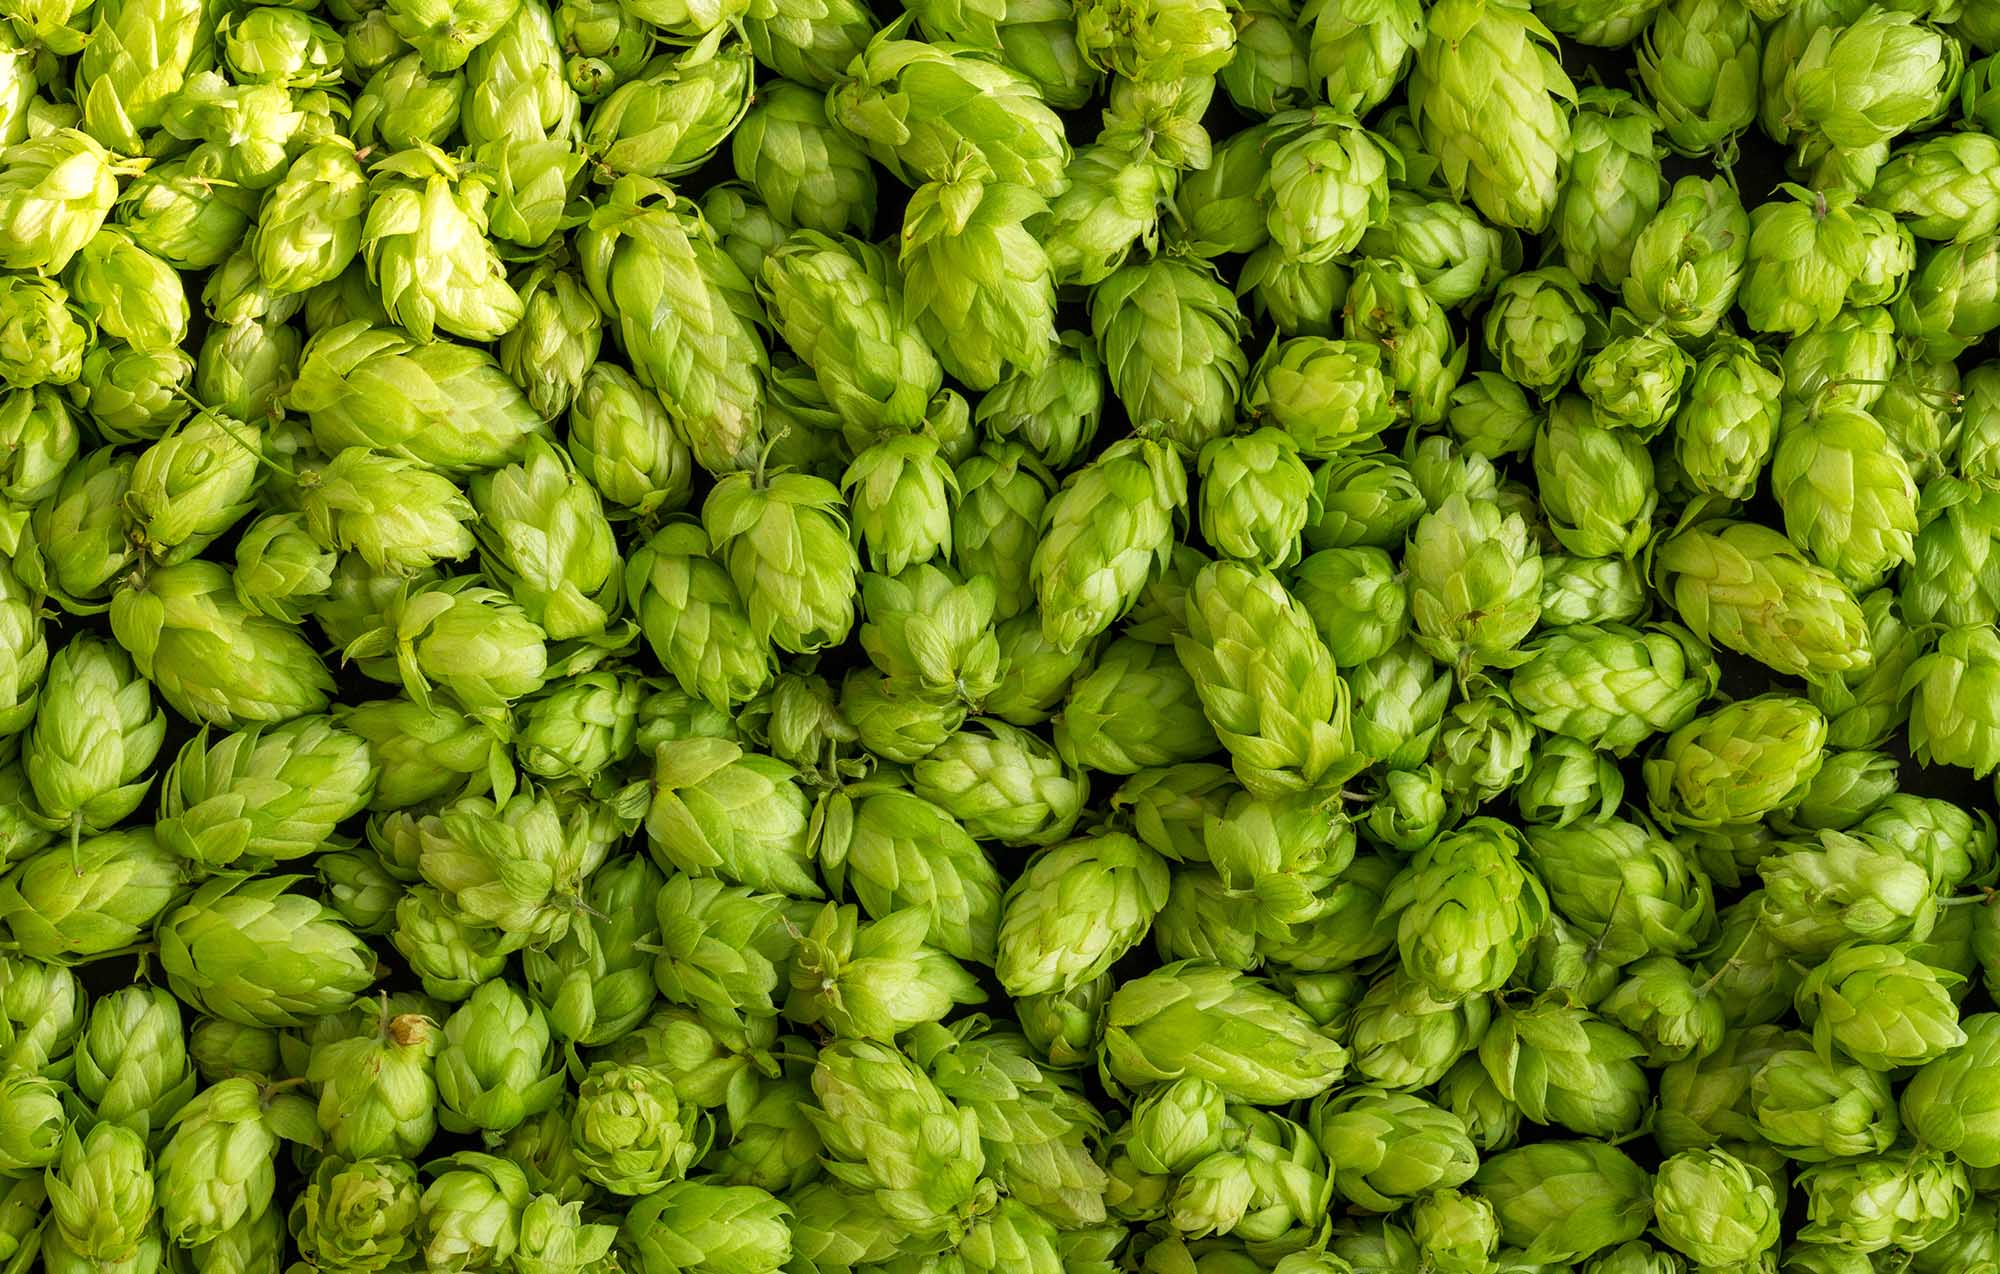
I recently read an article on BYO on dry hopping and it made me realize how much things have changed since I first started homebrewing about 10 years ago. With the new wave of double dry hopping and the emergence of the NEIPA, it’s essentially turned the dry-hopping world on its head. Below are some old and new techniques and general guidelines for dry hopping your homebrew.
What Is Dry Hopping?
Dry hopping is the process of adding hops (dried whole leaf or T-90 pellets) as a cold side addition, typically during or right after primary fermentation has finished. Dry hopping adds aroma and flavor without imparting any bitterness to your beer.
Hops contain compounds called alpha acids. When alpha acids are heated during the boil they undergo a process called isomerization. Isomerized alpha acids provide hop bitterness in beer. Boiling hops for a longer period of time leads to more isomerization and a more bitter finished beer. Dry hopping preserves the delicate volatile oils that produce flavor and aroma and will give your beer that much-desired mouth-watering aroma. These oils do not survive a boil.
Whole Leaf vs Pellet
You can use both pellet and whole leaf hops for dry hopping. Pellet hops are a little more convenient and more readily available. Leaf hops take up more space in the fermenter and also soak up more of the beer, decreasing the overall yield. Commercial breweries use pellet hops because they pose a lot of advantages such as shelf life, efficiency, and less beer absorption.
The other popular term in the industry is wet hopping. Wet hopping is the practice of adding un-kilned whole leaf hops to beer. This practice is still carried about by some commercial breweries.
Choosing Hops for Dry Hopping
Your beer’s flavor profile and characteristics should dictate which types of hops you use. There aren’t necessarily any wrong hops to choose from for dry hopping, but you should stick with aroma-forward hops. I love Cascade, Centennial, Amarillo, and Simcoe for West Coast/American IPAs and Citra, Mosaic, and Galaxy for tropical NEIPAs. You can also mix varieties for complexity. Here is an awesome interactive chart for hop profiles and characteristics. Beer Maverick has some pretty extensive hop data as well.
Below are some personal favs I’ve used:
Tropical/fruity/citrus: Azacca, Citra, Denali, El Dorado, Ekuanot, Galaxy, Mosaic, Vic Secret, Nelson Sauvin, Bru-1, Motueka, Eclipse,
Citrus/grapefruit/pine: Amarillo, Cascade, Centennial, Chinook, Columbus, Simcoe, Warrior, Bravo
When To Dry Hop
After Fermentation
Your classic American or west coast style IPA has typically always been dry-hopped after fermentation has completed, usually, 7-10 days post pitching. In the past, I would rack my beer to a secondary vessel with 2-3 ounces of hops per 5-gallon batch. Your beer should stay in contact with the hops for 2-4 days before it’s bottled or kegged. After a few days, there’s nothing more to gain for extending the time in contact with hops. You’ve reached a saturation point where aroma can start to fade. I would encourage you to skip secondary fermentation and always dry hop in the primary to reduce oxidation with racking.
During Fermentation
The newest trend, especially with a lot of New England-style IPAs, is dry hopping during active fermentation in the primary vessel, usually on days 0-5 of fermentation. The major buzzword around this technique is called biotransformation. Biotransformation is believed to enhance the flavors and aroma of the finished product through chemical reactions between the yeast and hops. This can lead to different tropical flavors in your IPAs (depending on the hop style of course). Biotransformation is also believed to contribute to a NEIPAs haze.
With all the research I’ve been doing on NEIPAs, it would appear that most of the big-name NEIPA producers are dry hopping after terminal gravity has been reached, usually on days 5-8. Breweries like Treehouse and Trillium dry hop in crazy amounts to achieve the incredible fresh flavors their beers are known for. I usually dry hop my NEIPAs with 8-16 ounces, depending on ABV. This originally seemed absurd to me coming from a typical 2-ounce dry hop charge in an American IPA, but it does make a big difference.
Double Dry Hopping (DDH)
Double dry hopping (DDH) is labeled on nearly every commercial NEIPA at this point. It’s basically a marketing term that can clue you in on what you might expect from a beer. DDH can mean slightly different things depending on who you ask. One thing I think we can all agree on is double dry hopped=dry hopping with double the typical charge of hops. DDH can also allude to two separate dry-hopping charges—one during active or primary fermentation and one a few days before bottling or kegging for instance. DDH could assist in achieving biotransformation along with a fresh charge of hops at the end of fermentation for a fresher aroma. A lot of breweries are experimenting with dry hopping in stages for enhanced flavor.
I’ve tried both methods and the jury is still out on which method I prefer. I’ll just have to keep comparing the two methods between batches.
Loose vs Bagged Hops
I always let my hops roam free in my beer if I can (yes, free-range dry hops are happier). You’ll get much better results in terms of beer contact and overall aroma. If you ferment in carboys, it’s a major PITA to get the hop bag in and out of the small opening. If you must use a mesh bag, a large bag is better so your beer can flow more freely through the hops. A tight ball will decrease the overall surface area your hops can stay in contact with your beer. If Biotranransormation is a priority for you, I would not use a mesh bag.
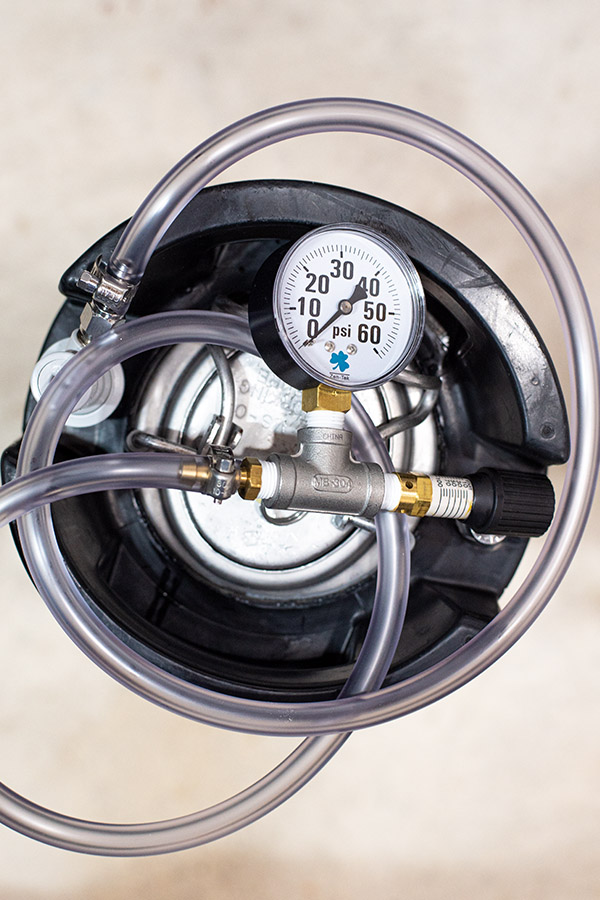
Dry Hopping Under Pressure
Fermenting under pressure has become a popular topic in the homebrew world. With that, dry hopping under pressure has also been a strategy to lock in volatile aromas rather than blowing them out through the airlock. My batch currently fermenting in a corny keg is sitting at 10 PSI, which is being managed by a spunding valve. You must have some form of pressure release or you can easily over-pressurize the keg. I added 8 ounces of dry hops on day 3 to a 4-gallon NEIPA, and within an hour, the keg quickly went from 0-10+ PSI as the yeast started working on the hops.
I’ve chatted with a few local commercial brewers, and both suggested dry-hopping NEIPAs at 10 PSI at the tail end of fermentation. Dry hopping under pressure will also help combat oxidation. Take a look at my conical dry hopper build.
Keg Hopping
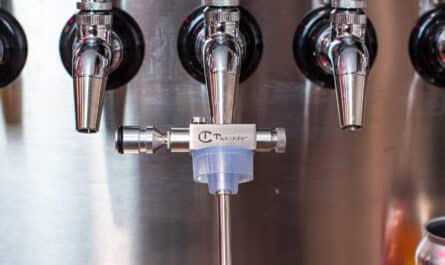
Keg hopping is exactly what it sounds like—adding 2-3 ounces of hops directly to the serving keg to keep the beer’s aroma fresher for the duration of the keg’s life. If you go this route I would recommend you hop in a fine mesh bag so you don’t risk clogging your dip tubes with hops. I have a stainless hop tube that won’t get sucked up via a diptube and sinks to the bottom of the keg.
I’ve produced some pretty intense flavor and aroma from keg hopping. You’re essentially drinking beer that was in contact with hops seconds before reaching your glass. It’s an awesome way to add explosive aroma in a short amount of time. Just note, it tends to add some haze as well. Absolutely worth experimenting with!
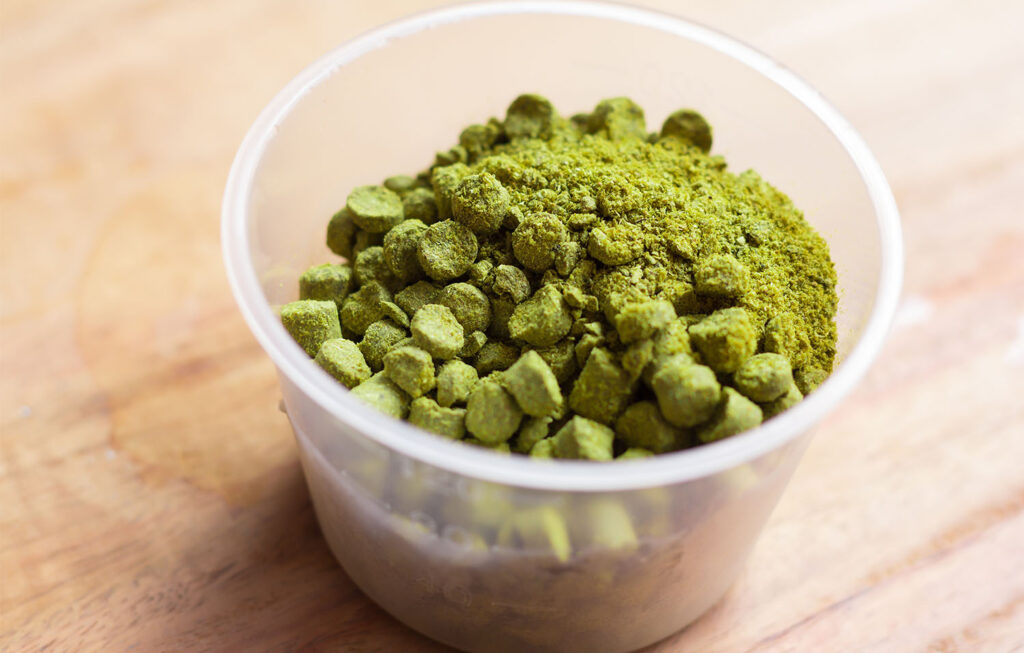
Concentrated Hop Products
Cryo Hops® by Yakima Chief Hops and LUPOMAX® hops by Yakima Valley Hops are concentrated hop pellets that add more intense aroma and flavor to your final beer. These types of hops are a result of freezing hop cones with liquid nitrogen. The lupulin glands (concentrated bittering and oil portion) are separated from the leaf resulting in a more concentrated final product. I’ve been using LUPOMAX hops for a while now and can attest to the potency and enhanced character.
Outside of pure flavor and aroma, these concentrated hop pellets require fewer hops in comparison to a standard T-90 pellet. This means less beer loss from heavily dry-hopped beers. It’s worth noting that you should only use these hops in the whirlpool/dry hop stages as heating them will destroy the volatile oils just like traditional hops. Use code HAZY20 to get 20% off your entire purchase of $100 or more at yakimavalleyhops.com.
I was reading your article about neipas and Ive done my first one in very similar fashion. I’m on day 3. After reading this article I’m uncertain whether it’s best to dry hop at the tail end of fermentation, at day 7-8 as you mention in your recipe, or 3-4 days before cold crashing. Each makes sense but at this point I’m sticking with day 7 or 8. I added 4 oz of citra at 175. I have 12oz if citra for dry…should I use all 12 or save 4 oz. OG was 1.060. thoughts?
I would probably do an 8-10 DH for that OG. I’m not sure you’re going to see much of a benefit of the last 4 ounces. Higher OG beers call for higher DH rates. I typically always cold crash 3-4 days post dry hop. That being said, I always DH at terminal. day 5-8 depending on the temp of fermentation (typically warmer these days). Higher DH rates call for extended conditioning to let the flavors shine through. My last beer featured nearly a 1 lb dry hop…it didn’t start to round out until day 21.
Do you really need to dry hop under pressure if you don’t need it carbonated yet? Since I’d like to get rid of the hop trub I will transfer the dry hopped beer into a serving keg. Could I just dry hop in a keg without pressure and get the same results?
I dry hop under pressure to keep hop aroma contained, mitigate oxygen, and also to help hop matter settle better. It’s not really a means of carbonation, but rather a result. Lastly, I’m not the biggest fan of keg hopping because it can lead to vegetal flavors from extended cold contact.
Hello!
When dry hopping under pressure (using both a CO2 tank for supplying a specific pressure and a spunding valve for maintaining a set pressure) do you keep the gas on the entire time? For example, if dry hopping under 10 PSI of pressure should you hook up a CO2 tank and set it to 10 PSI keeping it on the entire time or should you just shoot in 10 PSI of pressure directly after dry hopping and then unhook the tank with the sounding valve set to 10 PSI?
Thank you for your time and your knowledge!
I usually keep a really close eye on it to avoid co2 loss but you should keep your co2 lower than your set spunding pressure or you will just be forcing co2 out of your fermenter. The important thing is maintaining a set head pressure. spunding limit of 10psi with regulator on co2 tank at 8 psi for example.
Sorry I forgot to ask another question:
After dry hopping and then cold crashing for about 48 hours, do you recommend force carbing right away at serving pressure temperatures or at cold crashing temperatures (temperature near 32F)? Also, at what temperature range do you recommend serving hazys/NEIPAs at?
Thank you again for your time and
your knowledge on the subject matter!
I usually carbonate at serving temp in my fridge, which is def the high 30’s. I don’t really keep track of serving temp but cold is not always better. As the beer warms you can taste different things.
With regards to CO2 coming out of the spunding valve during pressurized dry hopping, how safe is it? I have my keg and co2 tank in a designated fridge in my garage. It’s not a very large garage and I’m worried that CO2 will go out into the room. Also when I open my fridge I’m guessing there will be a lot of CO2 built up in there. Do you take any precautions with this? Should I invest in a CO2 monitor?
I can’t really speak to the safety of co2 but there shouldn’t be any more co2 coming out of your device than typical unpressurized fermentation. co2 leaking is a whole other story. You’re simply gassing the same co2 just under 10 psi to start with. Excess comes out as it needs too.
Hi Shawn great stuff. Just had a few questions. I’m pressure dry hopping very small batches (1 gallon). I have my control device on my spunding valve set to 10 PSI. However even if I raise my CO2 tank levels just a little it will blow CO2 out of the valve. I didn’t even raise it high enough to register PSI levels on my regulator. It’s probably because I’m using a small keg. How do I know if I’m getting enough CO2 in my tank? Am I suppose to hear bubbling in my keg or is this already too much? Also because it’s a small keg I do not get readings from my gauge on my spunding valve either, only if I raise my PSI on my control device and raise co2 flow from my tank will I get readings.
Hi James – really tough to say but your vessel won’t need a lot of co2 if it’s very small and has very little headspace to fill. It sounds like your spunding valve may be faulty or incorrectly set if it’s blowing co2 out at 1psi then it’s not holding any pressure.
Hey Shawn-
I did a DDH with a total of 7oz for a 7 Gallon batch over the course of 8 days. On the 9th, amazing aroma, but after I kegged and added co2, almost all hop aroma is gone. Any idea on how to curb this, or have you had any issues similar? I’m adding 7psi when dry hoping and close transferring as well. Maybe I need to add more hops? Thanks for the tip!
This will always happen to an extent. Tasting beers in the fermenter that are sitting on fresh hops is always going to punch you in the face with aroma. 7oz per 7 gallon is also a somewhat modest dry hop by today’s standards. The equivalent of 5oz per 5 gallon. You could easily double that charge and be in the typical range. Ensure you’re fully purging kegs prior to transferring as well. Try experimenting with Lupomax hops for added aroma.
Thanks! You rock.