
 by
by 
There are a few things about homebrewing that are unique and feel truly special. The most prevalent to me is the sense of community among homebrewers. The homebrewing community is made up of a diverse group of rabidly obsessed beer nerds from all over the world. I love the knowledge-sharing aspect and how willing brewers are to share their experiences and give practical advice. Homebrewing has become a common language in so many ways.
That leads me to my own keezer build. Something I would likely have never gotten through if it weren’t for the hundreds of brewers before me documenting their entire build process. It basically served as a blueprint for me to pull inspiration from while avoiding pitfalls. If you have a problem, likely someone out there has a solution for you! Here is a roundup of some awesome keezer builds that I pulled some inspiration from.
Basic Keezer Components
Before I get into specifics, here is what I used to make it happen, not including nails, screws, and tools. That being said, I managed to pull this off with a cordless circular saw and drill.
- Magic Chef 7.0 cu ft. chest freezer
- 4 swivel casters
- 15-inch gas struts (for lid)
- Inkbird controller
- Micro Matic brass 4 tap tower
- Brass Perlick faucets
- 4-way gas manifold
- CO2 tubing
- Ball-lock quick disconnects
- Drip tray
- Black tap handles
- Repurposed rectangular tabletop
- 2×4, 1×3, and 1×6 wood for framing/finishing
My Keezer Build
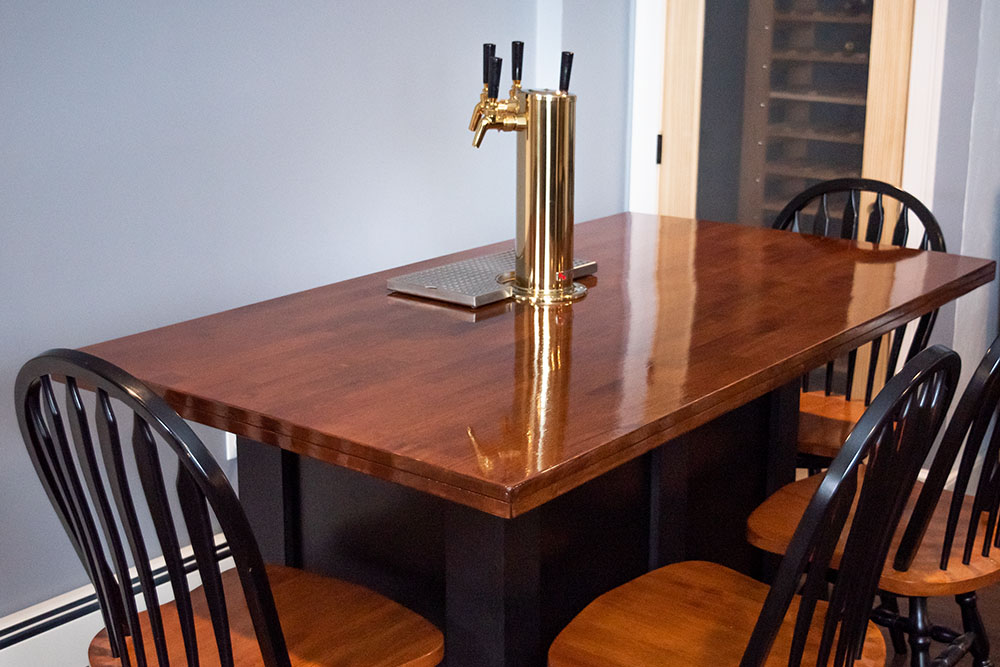
I was looking for a different kind of keezer build. I would say my end result is probably not your typical keezer. While it’s certainly a keezer, it’s more of a bar to be honest, which is exactly what I was looking for. This thing would live in our finished basement so I had more room to work with in general. I wanted a walk-behind bar that could also serve as a tabletop with seating. I love the look of tap towers so I opted for that over the common coffin tap design. Which to be honest seems like a lot of work and I’m just not crazy about how they look.
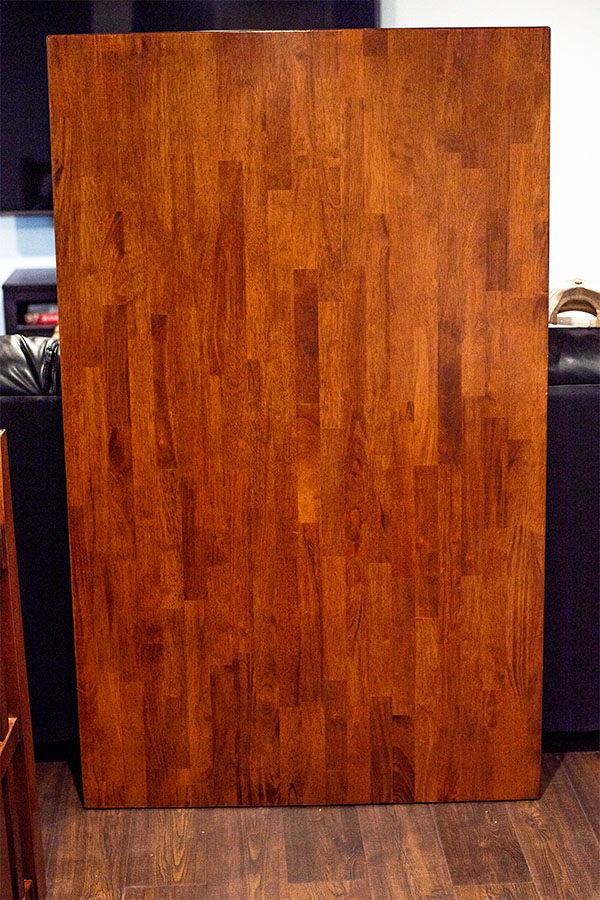
The top of my keezer bar was borrowed from a pub table my wife got at Building 19 after college 10 years ago. We decided it was worth sacrificing for the cause given the table was nice hardwood and just needed a little love. The tabletop was heavy, about 50 pounds, so I ended up trimming it down slightly so there was no excess wood other than exactly what we needed. I wanted a rough 10-12 inch overhang around 3 sides for comfortable seating.
The alternative for the top was to purchase a butcherblock countertop from Home Depot. While other’s have done this, they seem really heavy and run you about $200-250.
Choosing a Freezer
My #1 concern was freezer ventilation. I wanted to avoid wrapping or sealing my chest freezer if I could so it could breathe and properly vent. From what I’ve read this is to help the freezer dissipate heat and keep the compressor running as efficiently as possible.
Overall, I would say I’m decently handy and have your basic woodworking skills. I’ve never built a cabinet or table for that matter so I wanted to keep things as simple as possible but still look nice. I loved the idea of using a black chest freezer that I could easily dress up with wooden trim in order to make it look like a legit cabinet. Here was my initial inspiration and a phenomenal idea.
I settled on a black Magic Chef 7.0 cu ft. chest freezer from Home Depot. Black chest freezers are few and far between and are only made by a few brands in a few sizes. I could have purchased a white freezer and painted it black but it would have been a lot of work and I’m not sure my OCD would have accepted the final look.
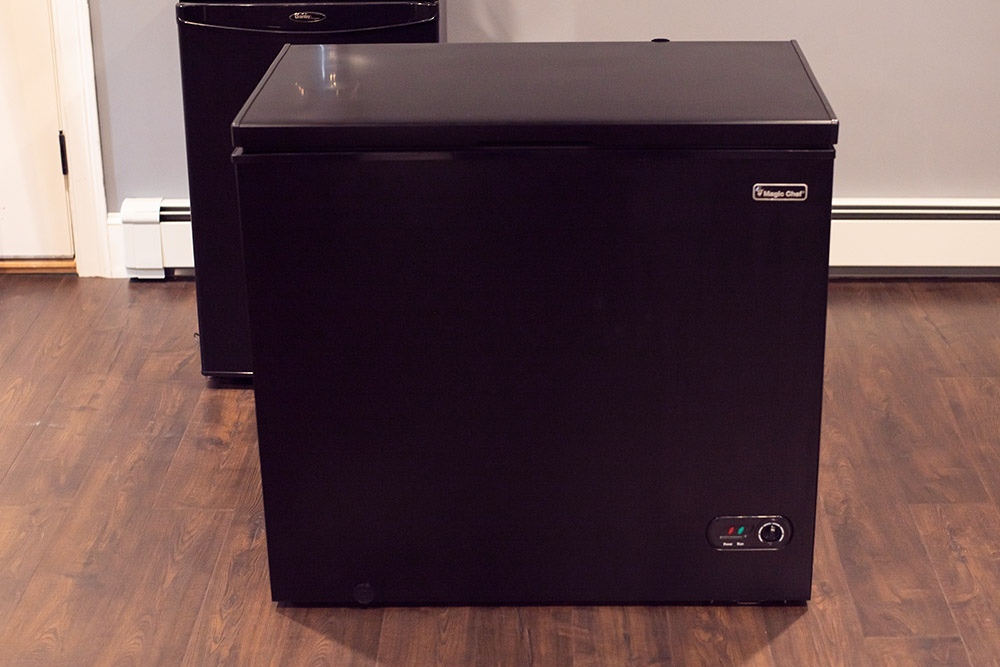
Most people who have used the same freezer are able to fit four 5-gallon ball lock kegs on the freezer floor with no collar. I’ll be honest I am NOT sure if I can actually do that. I only have three 5-gallon kegs and two 3-gallon kegs. Utilizing the freezer hump, I could likely fit all five, WITHOUT a collar but I’m not sure if my 3-gallon keg is a hair wider than a 5-gallon but I could not seem to fit three 5’s and a 3 on the freezer floor. It JUST missed but of course, 3-gallon kegs are short enough to share the compressor hump with my CO2 tank so I’m fine with having a few less gallons.
Keezer Base
I built the base out of 2×4’s and made it to fit the exact size of the freezer body. I then trimmed this out with 1×6 pine to cover the bottom of the freezer and hide the wheels. I left a 1/4 inch gap for clearance so the keezer could be easily moved.


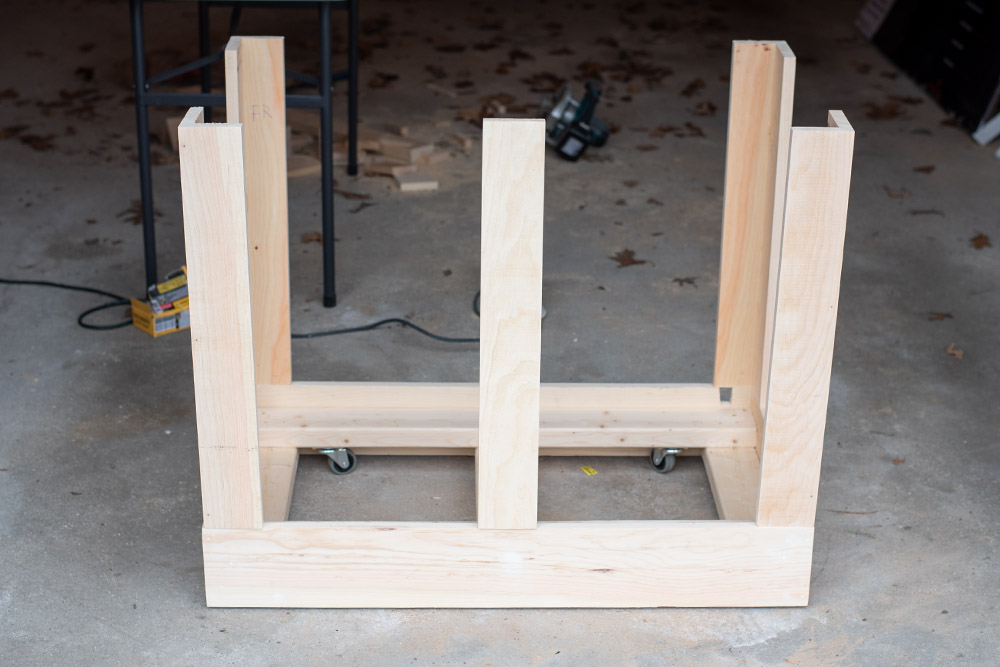
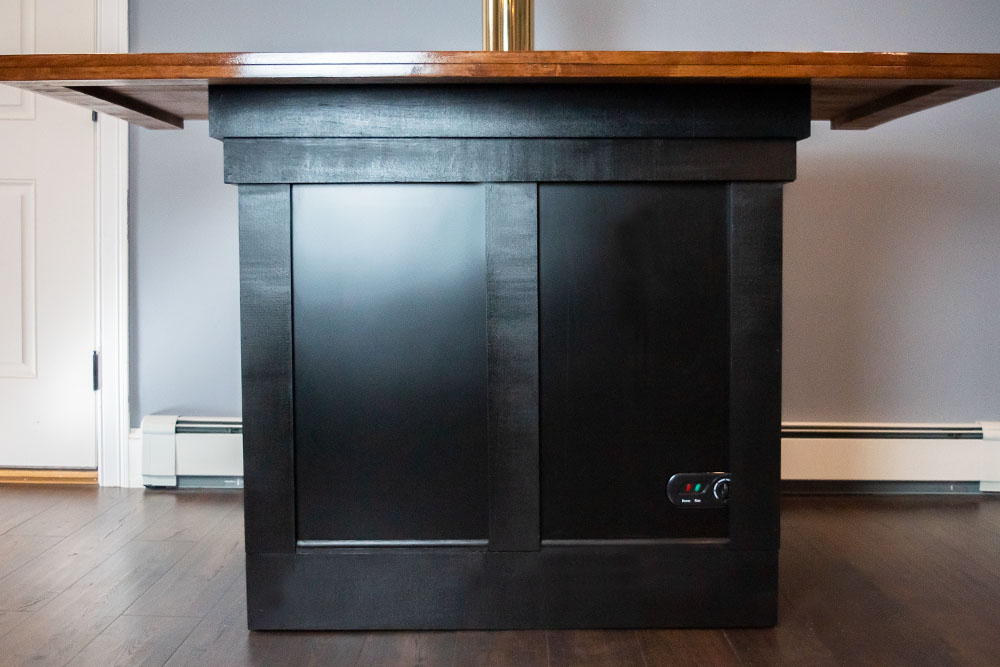
The picture above it basically how the shell would be assembled once in place. Just note, the sides (1×3 pine boards) aren’t technically attached to the base but glued to the sides of the chest freezer with Liquid Nails Extreme Heavy Duty. I will say this was a nice hack approach without needing to build a true cabinet enclosure. A downside however is relying on the chest freezer to actually be perfectly square. Spoiler alert…it wasn’t. I had to do my best to line everything up flush. It’s not perfect but it’s very close and the black color is very forgiving.
The picture below is right after gluing on the sideboards to the freezer. I pre-painted everything with a satin finish black paint before assembling, which makes for a really close match to the chest freezer shell itself. If it weren’t for the temperature dial on the front, you’d never guess it wasn’t a solid wood cabinet. I also ran some simple decorative trim on the base to tie it together.

The Tabletop
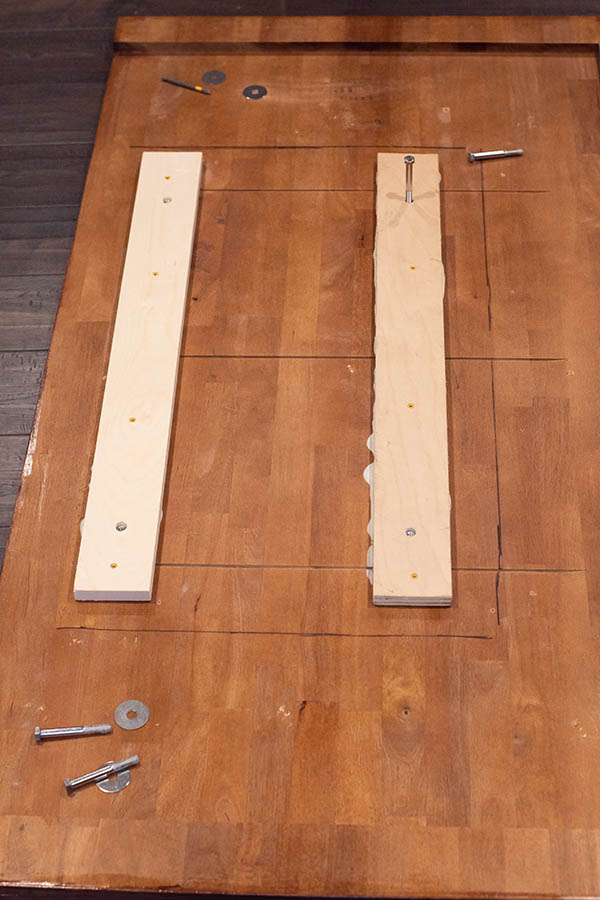
Connecting the tabletop probably required the most creativity. I ended up using 3-inch bolts and tee nuts (per HomeBrewTalk suggestion) to secure the bar top to the freezer lid itself. I thought about gluing the top right to the lid with more Liquid Nails but I was afraid it wouldn’t grip the plastic well enough. It also felt like a very permanent solution. I installed tee nuts through two wooden runners and glued/screwed them to the bottom of the table. I could then use the runners to bolt the table right to the lid. It could be easily removed as needed or mounted to a new chest freezer down the road.
The key was to mount the tee nuts flush with the wood (indented) so I could easily attach the runners to the bottom of the table. I used a spade drill bit FIRST to create an indent and then drilled a hole for the tee nut. The first picture below shows how the tee nut and bolt would sit on the lid/table. Basically, the winged end would have to pull THROUGH the wood to break the connection. It’s really strong and probably overkill.

Bolt with tee nut 


Final Table Prep
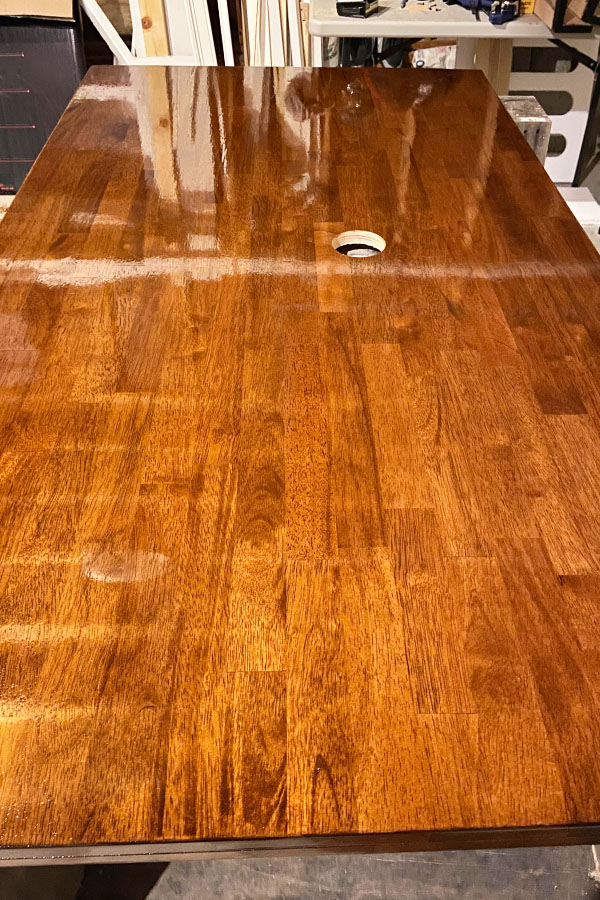
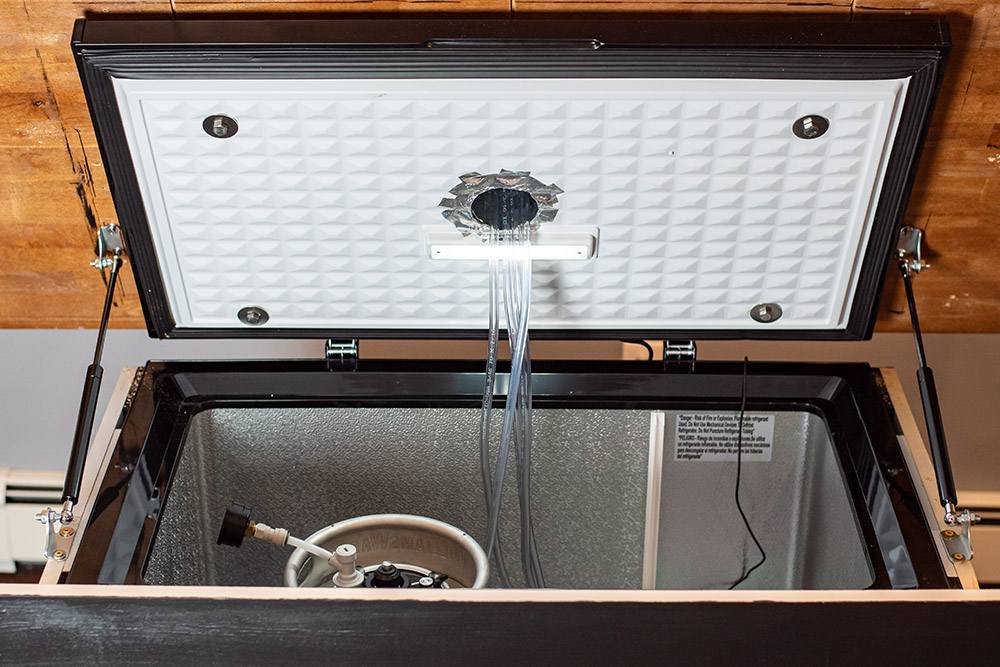
I touched up any scratches on the table with wood stain and applied 3 coats of Minwax clear gloss polyurethane to protect the surface and add a nice shine. It was absolutely worth it and made the table look brand new. I drilled a 3-inch hole through the table and freezer lid using a hole saw. There was a 3/4 inch gap because of the way the table was now attached to the lid so I added a small square cut out of PVC board with another 3-inch hole to fill the gap. I lined the passage with aluminum tape to seal anything off.

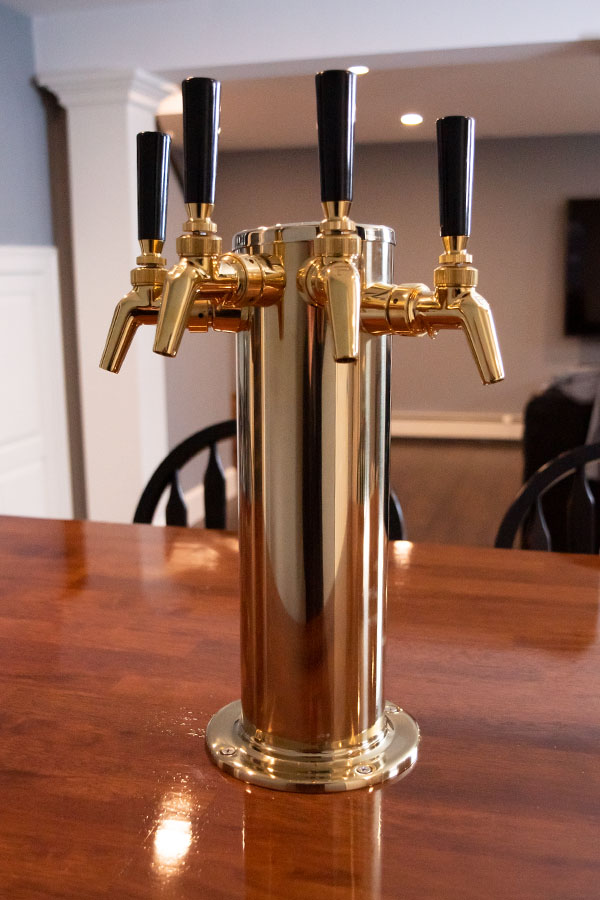
I bit the bullet and bought a brass 4 tap tower from Micro Matic and replaced the cheap faucets with brass Perlick faucets from AIH. It was definitely not cheap but finished off the look I was going for. I ended up screwing it to the table with stainless screws as opposed to bolting it all the way through. A chrome finish is much cheaper and also more readily available but I have no regrets!
As of writing I only have ONE beer on tap so I’m yet to hook up my gas manifold and all the extra tubing etc. I’m likely to mount the manifold to the lid however still determining the best placement for that. I’ll update this later as I dive into it.
Installing Gas Struts
I installed two heavy-duty gas struts to help support the weight of the top along with the freezer hinges. The struts are strong enough to hold the top open but don’t require thor strength to shut the lid either. Overall, the lid is pretty heavy, but not too outrageous. My struts are rated for 45 pounds each.
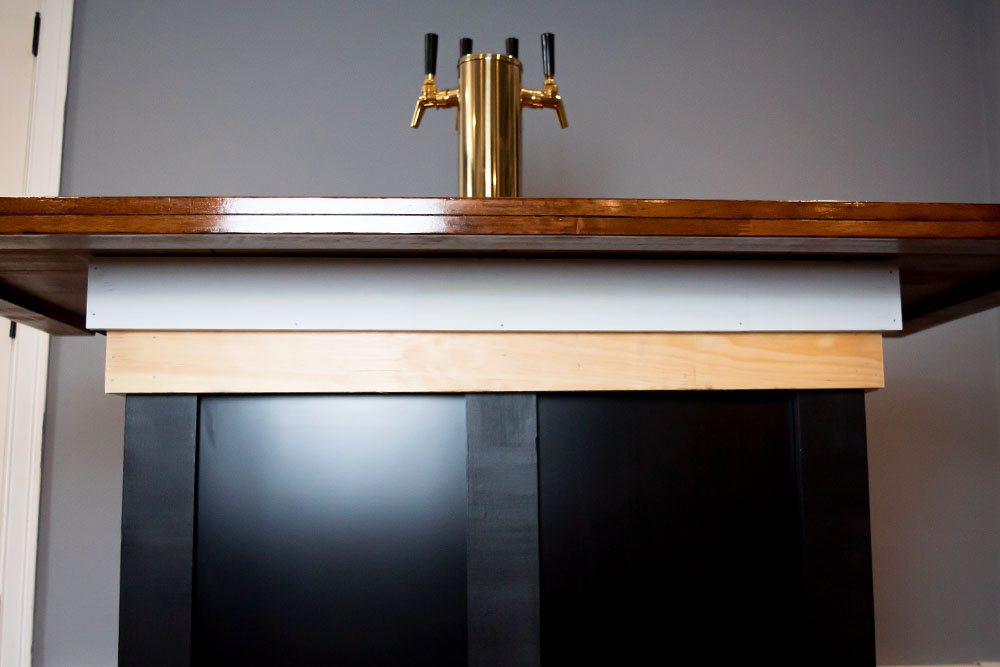
I concealed the struts with trim so you don’t see them at all when the lid is shut. The struts are attached to two side cross boards that are screwed to the side panels. It feels pretty solid overall. I was really lucky that everything was able to fit so nicely!

I added the final bit of trim towards the top to cover the gap where the sides and lid meet. These are simply screwed on top of the side trim pieces and wrap all the way around the front and sides. You really can’t see them because of the counter overhang but makes for a clean finish.
I still have to install some shelves behind the bar for some bar tools, spirits, etc. Those are on the way. I also need to better organize my Inkbird controller in the back so it’s not a tripping hazard. I don’t have a picture of the back but it’s clean and looks reasonably polished.
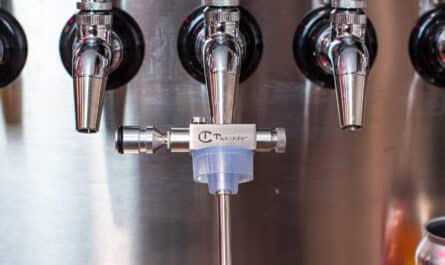
Overall, I’m really happy with the results and hope you enjoyed the read! I have some serious beer to brew. PS here is how I clean my beer lines if you’re interested in a simpler, faster way.

this is beautiful man. nice work!!!